DIY Sourdough Culture
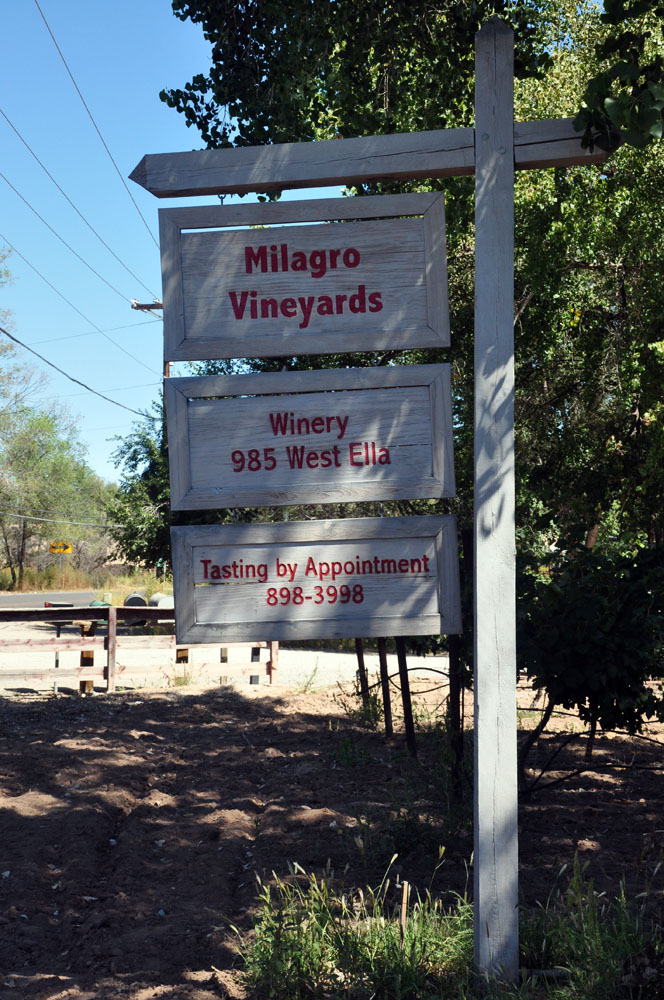
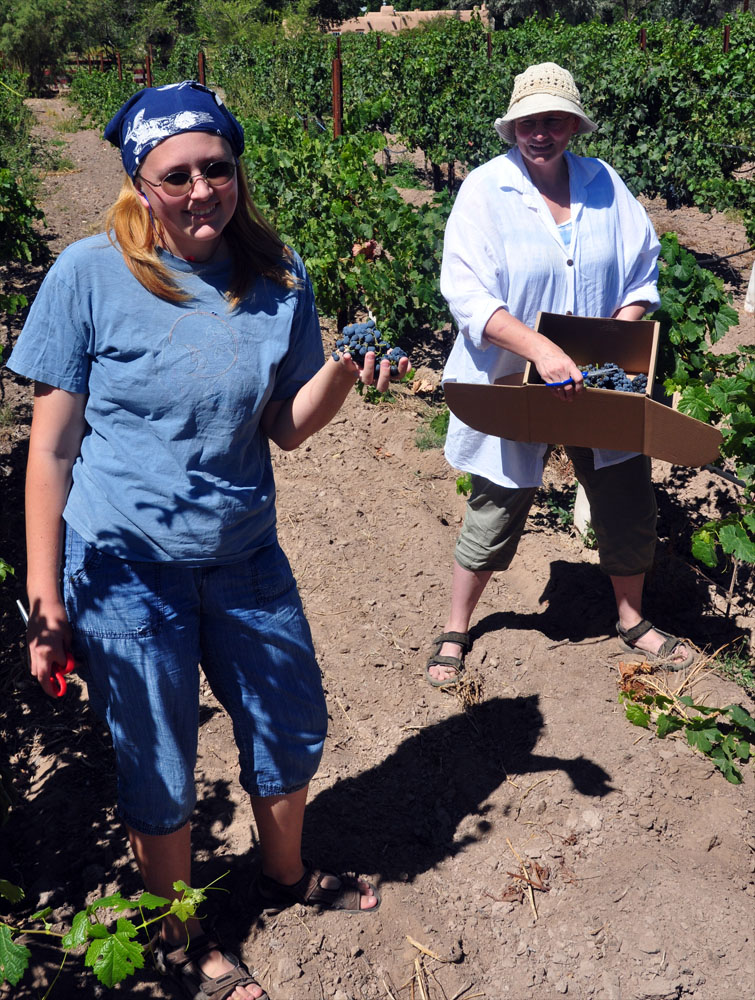
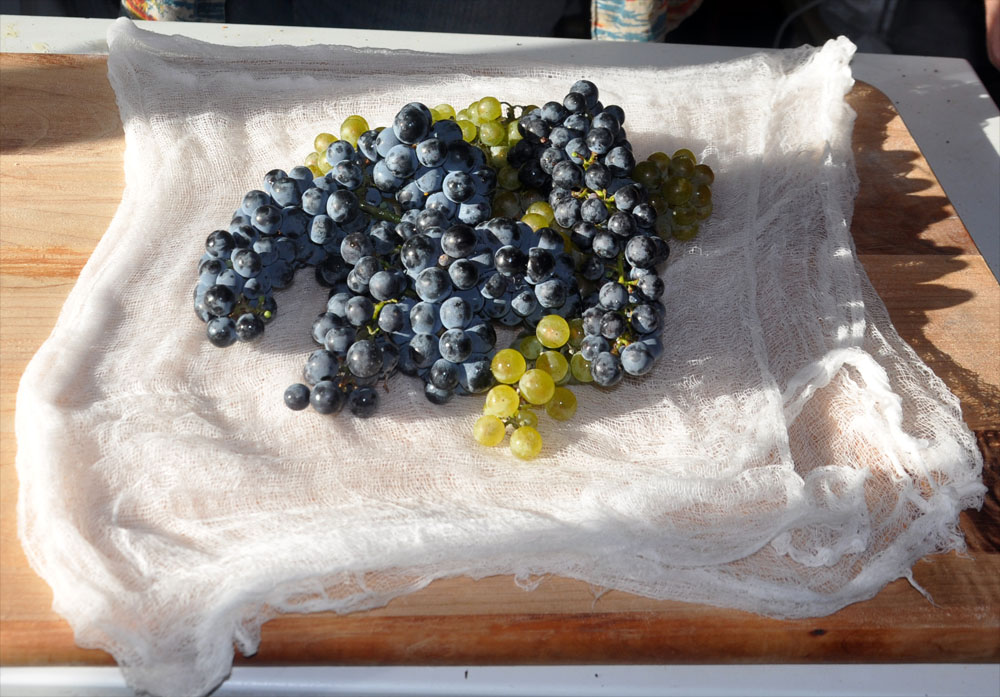
The capturing of local microbial cultures to make leavened breads was one of the most important innovations of the ancient world. Today we think of sourdough as something that you can only find in San Francisco or have to obtain from the old hippy couple down the street. But it need not be that way: every place has its own microbial assemblages that, if given the chance, will happily turn into a local sourdough culture which will rival commercial yeasts in their leavening power and will also capture the unique terroir of their origin. The sourdough we captured 5 years ago smells quite a bit like the air just outside of the main fermenting room at Milagro Vineyard where we collected the grapes. Even though a mystique has developed that sourdough is much harder to use than commercial yeast, we think this is as much advertising propaganda as anything else. Our experience has told us that the only difference between a local sourdough and commercial yeast is flavor (there is loads more in the sourdough) and time (it will take 3-4 times as long to raise). The issue is creating your own local sourdough adapted to your own local conditions. So, how does one do this? We’re presenting the process described by Nancy Silverton in her 1996 Breads from the LaBrea Bakery (ISBN 978-0679409076) and have found it foolproof as long as you have access to high quality organic flour, pure water, and work from sanitized containers and utensils. The whole process from start to finish will take 2 weeks but at the end of that time you’ll be able to bake your first loaf of bread from your own local yeast and microbe culture that you will be able to maintain for the rest of your life. You’ll actually begin your sourdough by visiting a local organic vineyard or fruit orchard and picking about a pound of ripe fruit. Because we don’t have vines in our backyard we went to the Milagro Vineyard just north of Albuquerque in Corrales, New Mexico to glean Chardonnay and Cabinet Sauvignon clusters that had been missed during earlier harvest.
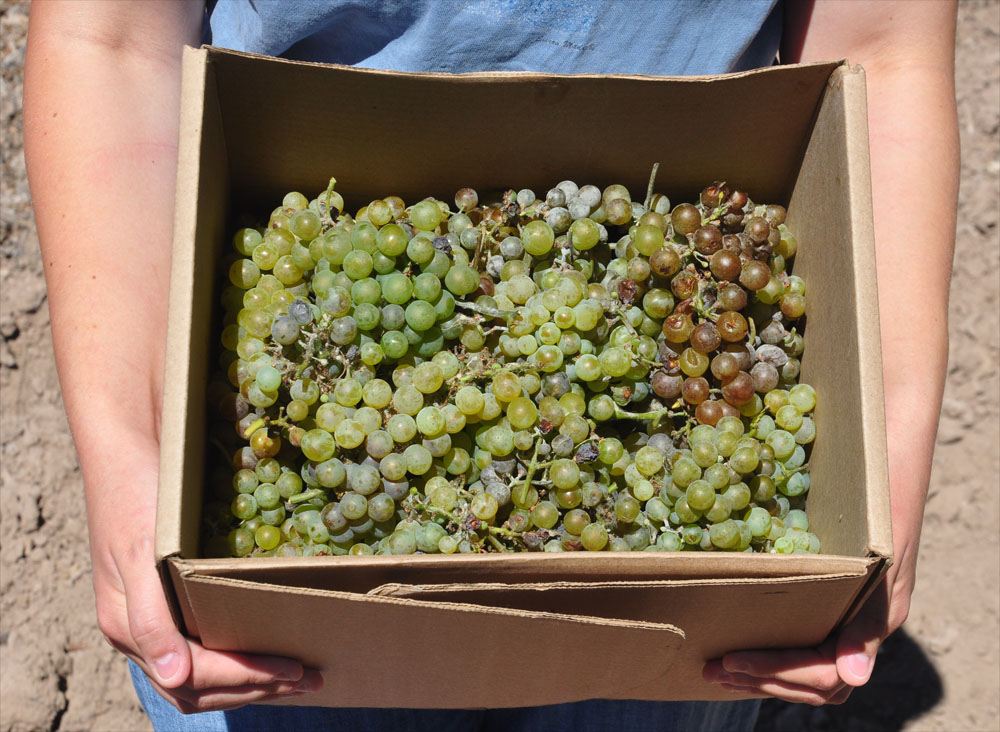
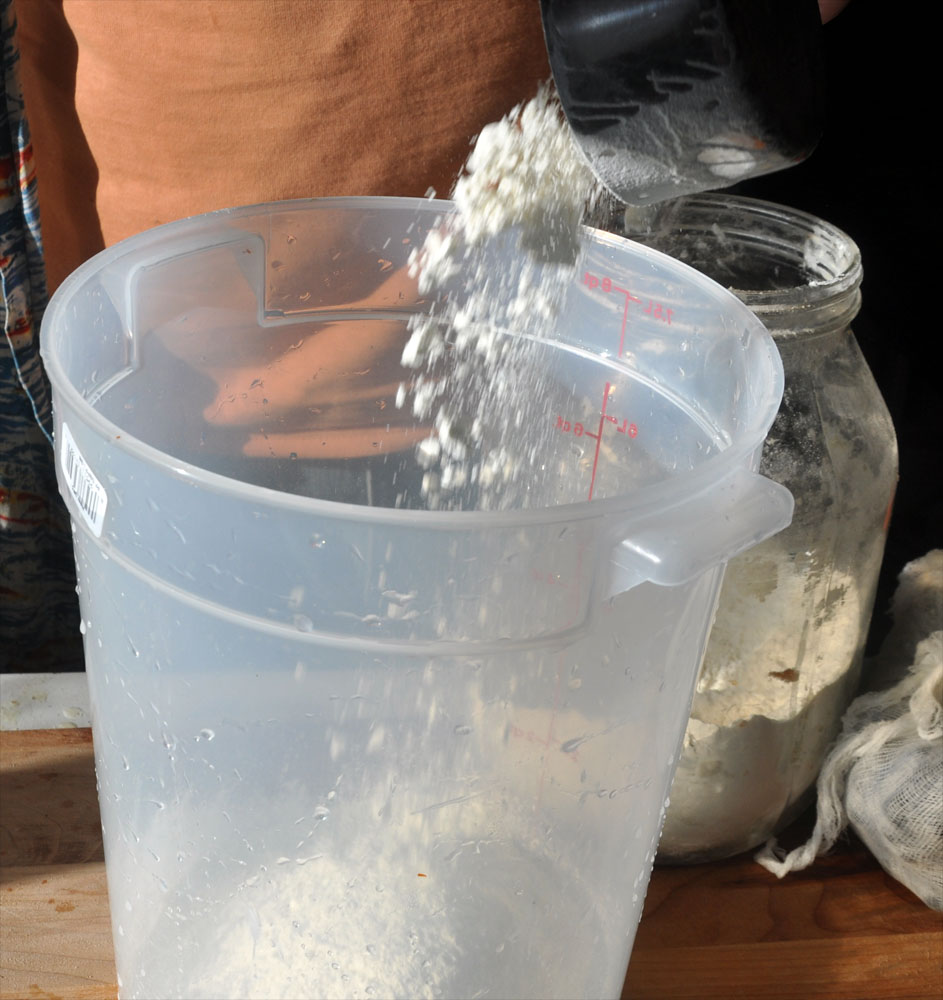
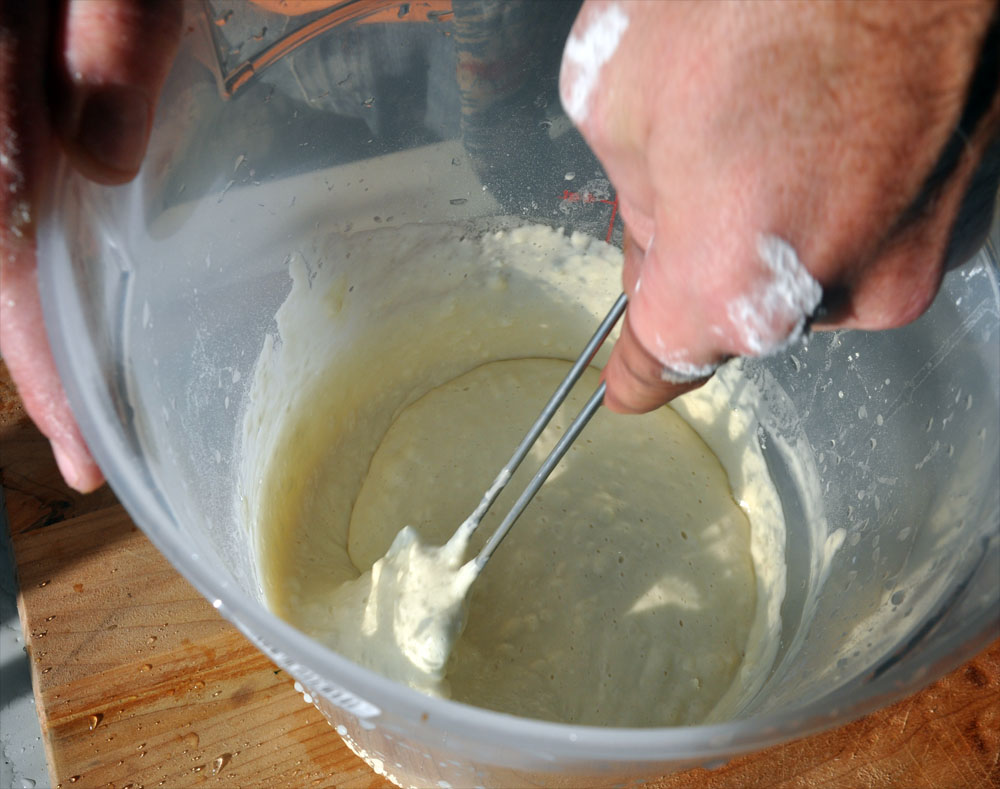
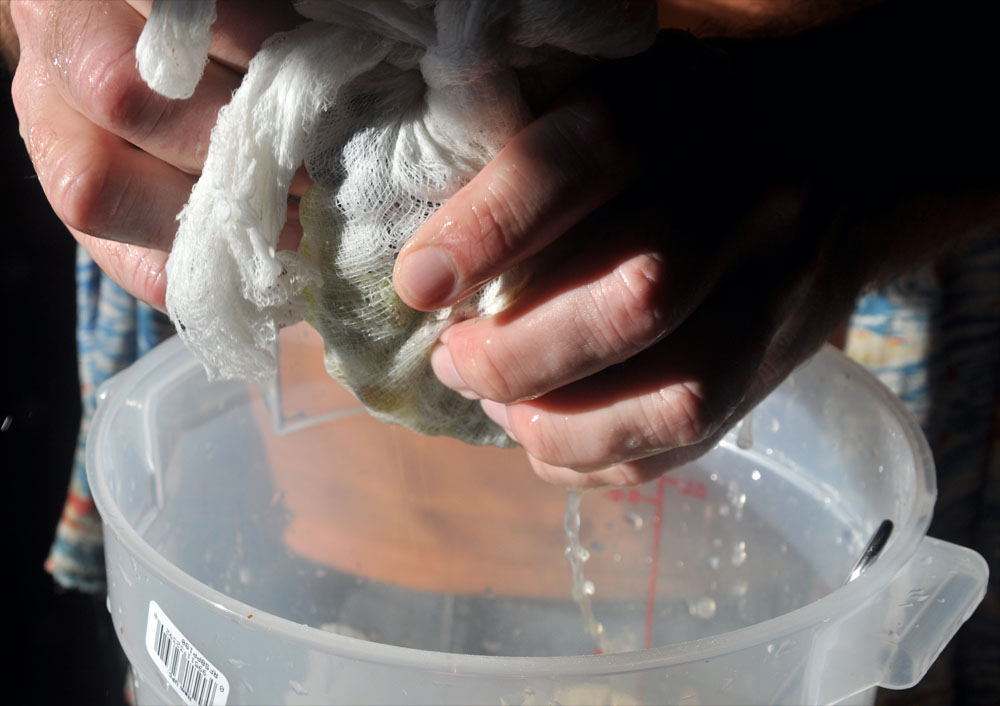
These fruits are covered in a whitish bloom of wild yeasts and bacteria, and we’ll be using these to found our sourdough culture. While we’ve not tried it we think that cherries will also work to initiate a sourdough as they too are covered with yeasts. We’re not so sure about other soft fruits like raspberries or blackberries, or harder fruits like apples, nectarines, plums, or pears. If you want to try these you’ll likely need to experiment a bit to optimize the process. For instance, for the harder fruits you’d likely need to peel them and to place the peels in the cheesecloth bag and to make up for the lack of juice by adding more water into the initial flour paste. We’d not recommend using any downy fruit like peaches or apricots as quite a bit of dust can get stuck to the hairs, increasing the chance for deleterious microbes to be pitched into your starter. Once you return home gently wash the fruit to remove any cobwebs or other debris, but don’t wash too hard or you’ll remove the beneficial yeasts. Next, assemble the following materials: 1 gallon plastic/glass/ceramic container with lid The essential first step in the process is to sanitize anything that will come into contact with the flour, water, or fruit, including not only the fermenting container but also the spatula, cheesecloth, and cup measures. This is important as we need to make sure that only the bacteria and yeast on the flour and fruit colonizes the batter. Note that once the culture has been established it is rather resistant to invasion by other microbes. You can find sanitizers like One Step at your local homebrew store or online at places like Northern Brewer. A note about the flour: it needs to be clean, pure, and organic as you want a full complement of wheat flour microbes to be present. The best flour, of course, would be that made from home-grown and milled wheat berries; just make sure that your mill is clean and sanitized before grinding the grains. If this is not an option then you need to track down King Arthur white flour, as this firm makes very clean flour that our sourdough loves; it pouts and barely works with other, cheaper brands. Day 1: Lay the cleaned fruit on the sanitized cheesecloth and tie together the opposite corners to make a bag. Mix together the flour and water to make a paste in the gallon container. Hold the fruit bag over the paste and crush the fruit with your hands, squeezing the juice into the paste. Mix the juice into the paste with the spatula, and then push the fruit bag to the bottom of the paste. Cover the container. Let sit at room temperature (70-75° F) out of the sun.
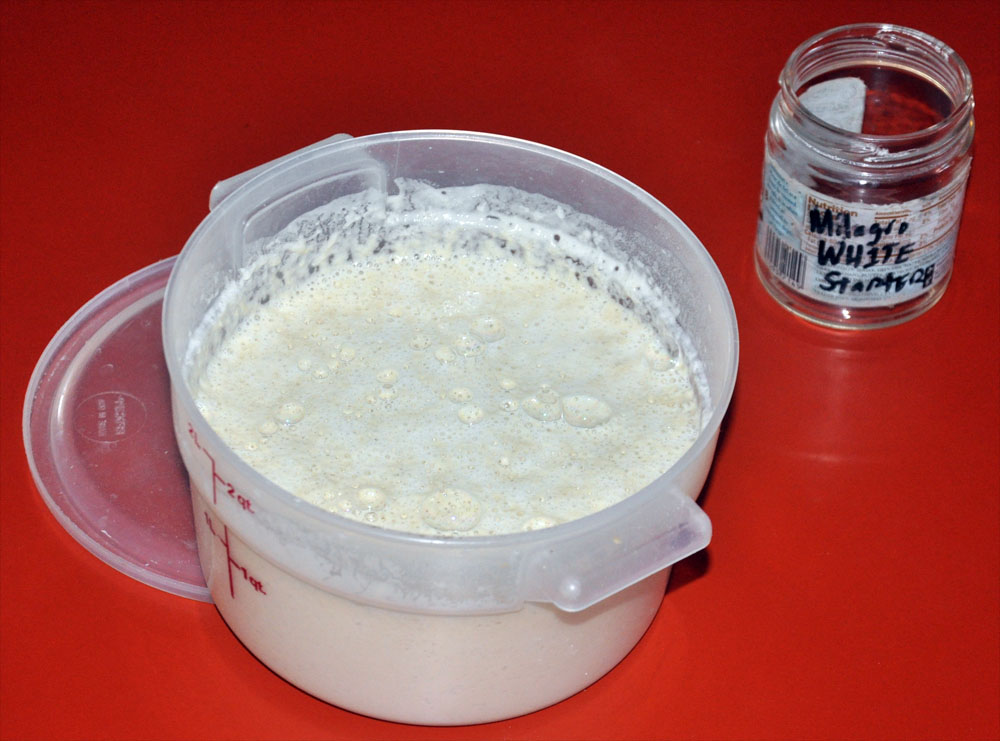
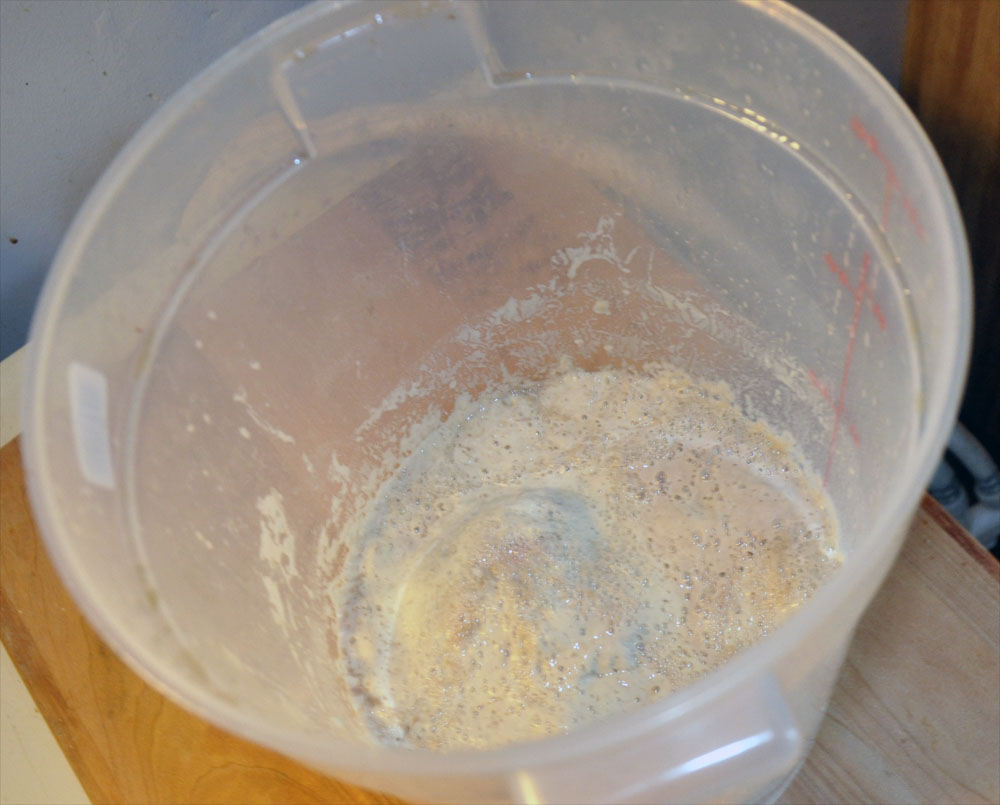
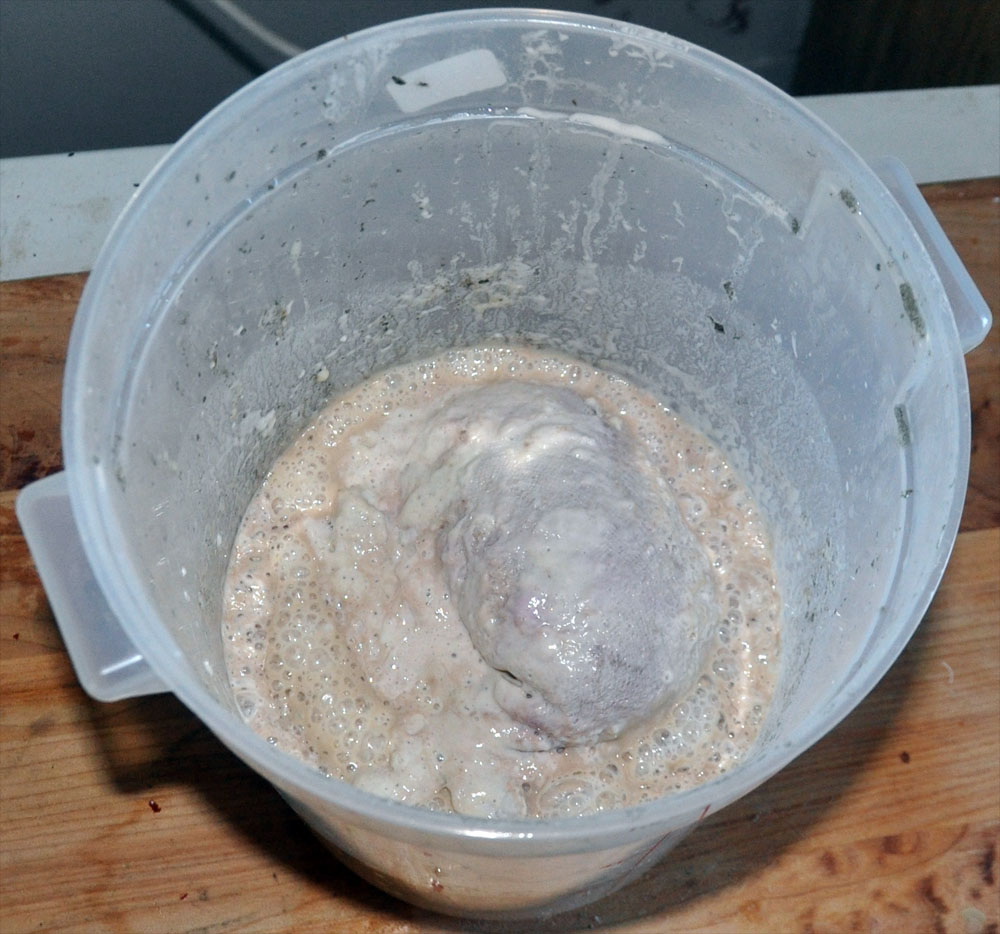
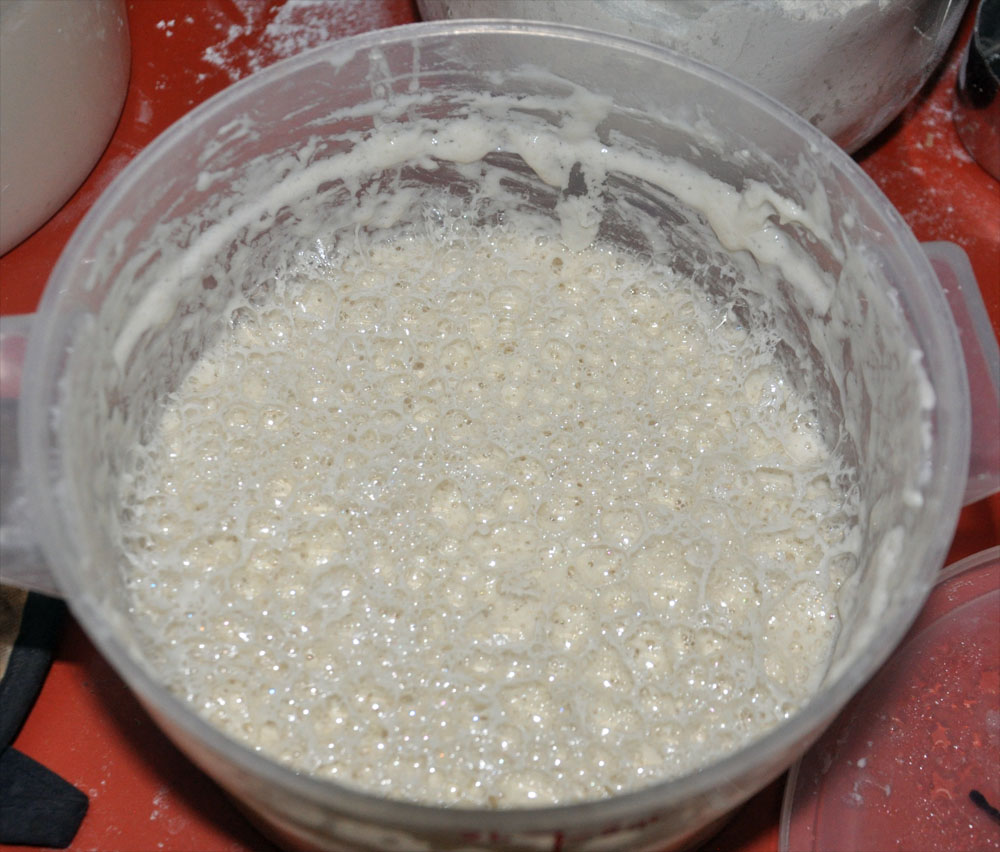
Days 2 & 3: Sometime during this period yeast growth will take off, making the flour mixture bubbly. Often the fruit bag will inflate with gas. When you remove the lid you should smell a fruity or yeasty aroma.
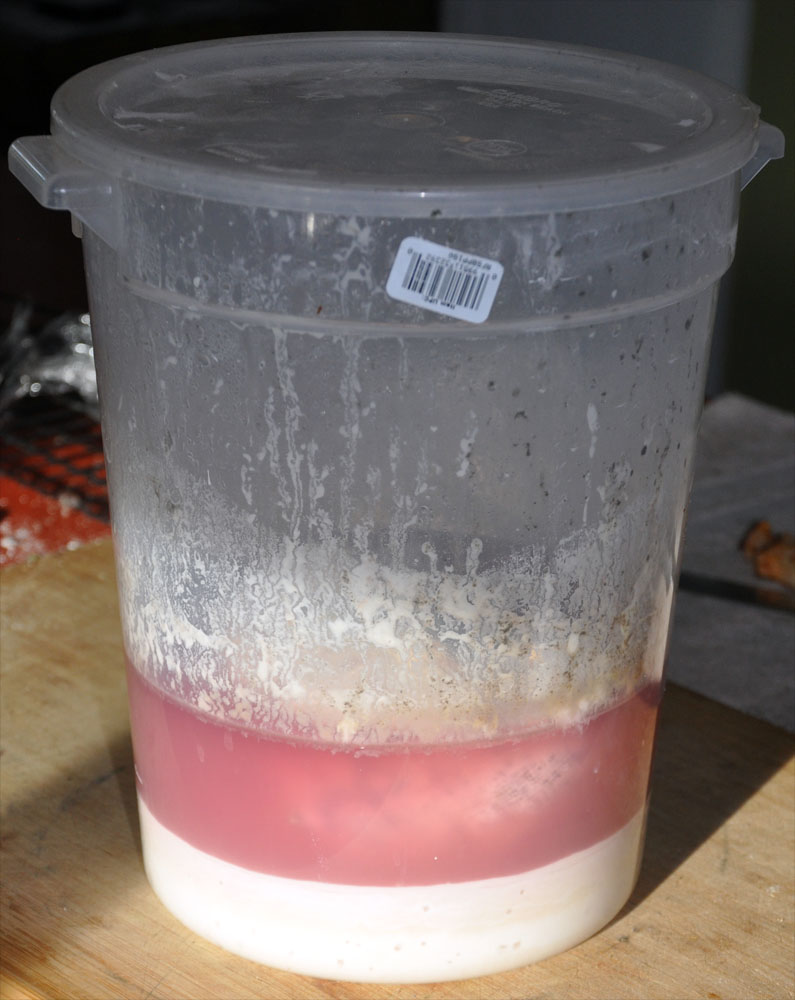
Day 4: We now need to feed the yeast which has used up all the initial food in the flour. To do this we sanitize a spatula and cup measure, gently remove the fruit bag, and then mix into the starter a cup of flour and a cup of spring water. Stir to make an even paste and return the fruit bad to the container, pushing it to the bottom of the paste. Days 5-9: The yeast will activate during Day 5 making a bubbly paste. By Day 6 the mixture will separate into an upper liquid and lower flour layers. This is fine. Over the course of the next 4 days we'll let the yeast starve which will give the bacteria populations a chance to grow. Don't be shocked if by the end of this time the starter smells more than a bit like a crock of fermenting pickles. That's ok, and will be fixed in the next step.
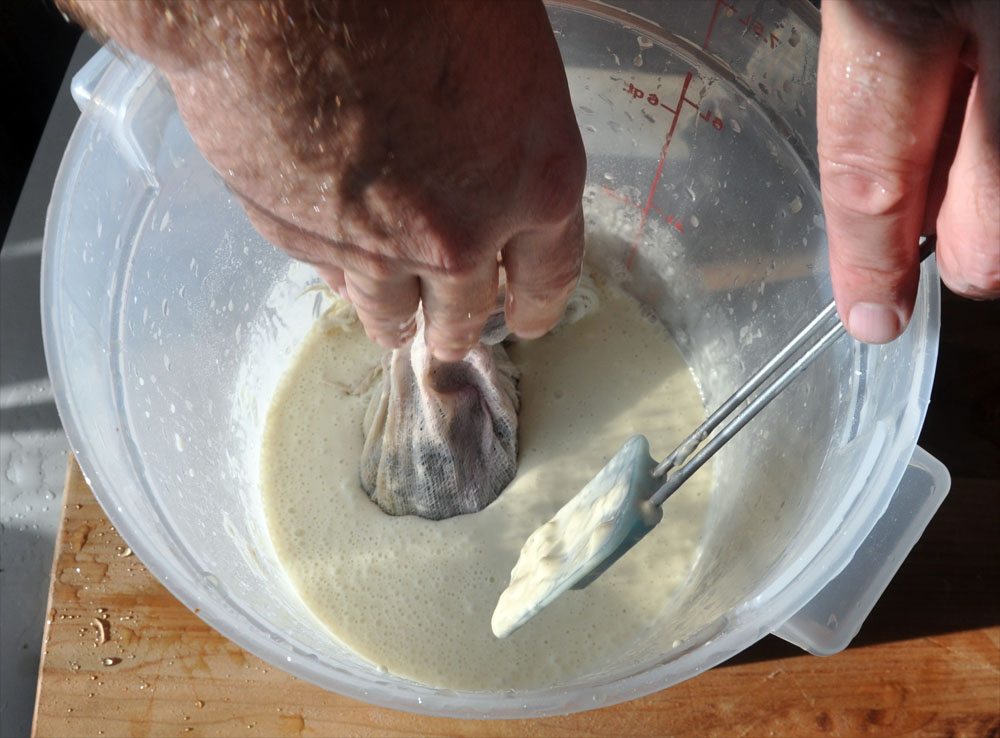
Days 10-14: We now need to bring the yeast and bacterial cultures in the starter into balance. To do this we'll feed the starter three times a day for the next four days. Initially you need to remove the fruit bag, squeezing any remaining juice into the starter. Stir well and remove 2 cups to a clean covered container. You can either throw away the remaining starter, pitch it into your compost pile, or make it into sourdough pancakes or onion rings. We save the leftover starter over a 2 day period and then make pancakes, repeating again on the last day.
To the reserved starter add in one cup of flour and one cup of spring water. Stir well to remove all lumps. Repeat this process every 8 hours for 12 total feedings. At the end of this time you'll have a fully active sourdough containing your local microbial cultures. They will likely work better than commercially purchased sourdoughs as they are adapted to your local conditions. Our local Albuquerque culture works as well as commercial yeast but cultures from the northern California coast hardly do anything. To maintain the starter, remove 2/3 cup and place in a glass jar. Cap and store in the refrigerator. When you need to use the starter, remove it from the refigerator place it in a lidded container, mix with 2 cups flour and 2 cups water to make a batter, and cover the container. Let it sit 6-8 hours and it will then be ready. Just remember to save back 2/3 cup of the starter, place it back into its glass jar, and put it in the refigerator for the next time. You should plan on using the starter at least once a week to maintain its leavening power. Archive |