DIY Tempeh
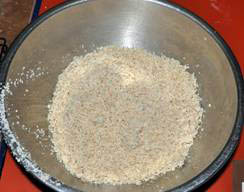
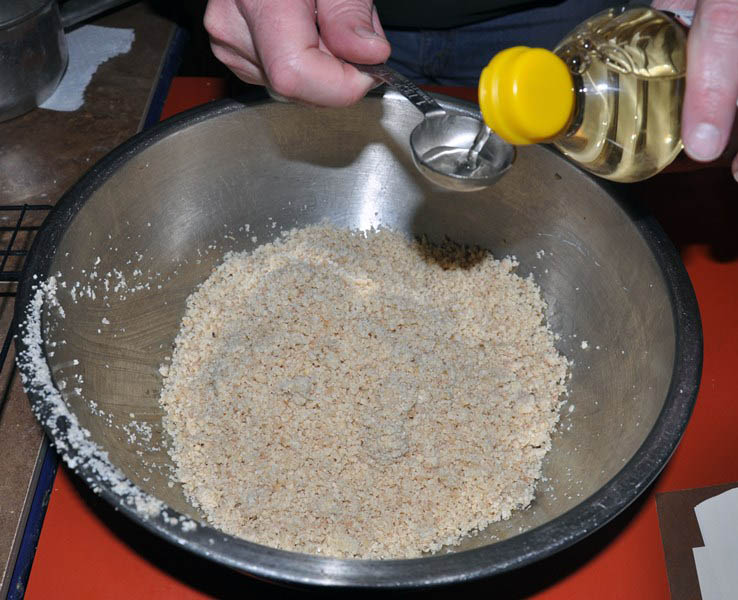
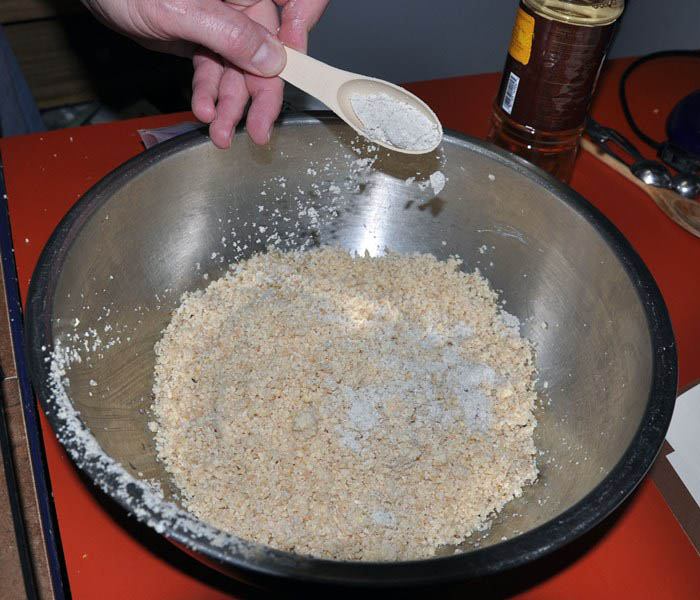
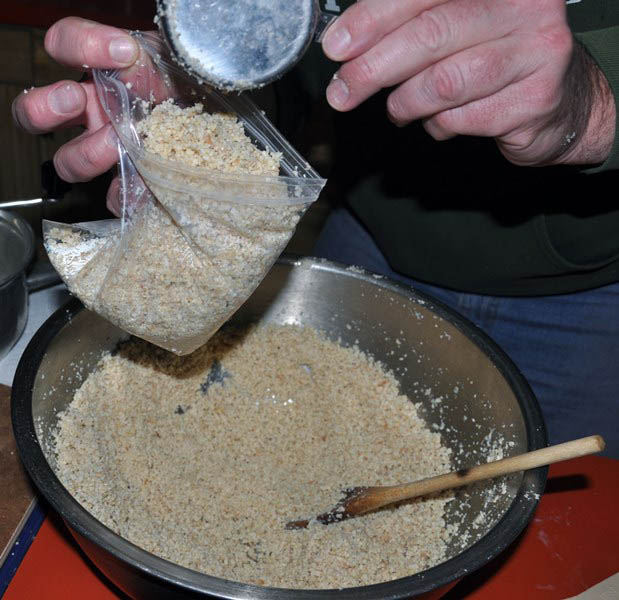
In the tropics of Indonesia, a different method for increasing the digestibility of soybeans was developed. Here, soybeans were cooked until tender, and then inoculated with spores of the fungus Rhizopus oligosporus and held in a humid environment at around 90° F. for about 24 hours. Precooking the soybeans inactivates trypsin inhibitors, while the fungal fermentation further increases the digestibility of the soy while generating high levels of various B-vitamins and the enzyme phytase which brakes down phytates present in soy. Phytate is a chelated compound that can tie up a number of minerals such as zinc, iron, and calcium and limit their uptake into the body. The Rhizopus fungus also creates a series of esters and other flavor compounds that impart a savory, meat-like flavor to the soybeans. We need to make sure that the correct microorganism grows on our okara. To do this, we must become applied community ecologists and provide Rhizopus oligosporus with environmental conditions that favor its growth over that of other organisms. We’ll do this in a number of ways: First, we’ll make sure that the okara is held at the optimal temperature for Rhizopus growth – somewhere between 85-90° F. Typical food molds, such as Penicillium, do not grow well at such high temperatures, and actually favor conditions at least 20° F cooler. Second, Rhizopus tolerates acidic condition better than many microbes. We’ll thus add vinegar into the okara to acidulate it and make it less likely for other organisms to gain a foothold. Third, unlike some microbes, Rhizopus requires oxygen to live. Thus, we’ll aerate the tempeh cakes by punching holes into the bags holding them. Lastly, we’ll initiate the fermentation with a great quantity of Rhizopus spores through a starter mix, giving it the opportunity to crowd out any other potential organisms. Step 1: Acidulating and Inoculating the Okara8 cups (approximate) of okara remaining from tofu production Cool okara until it reaches 90-100° F. This is important because at higher temperatures the Rhizopus spores will be killed. Sprinkle vinegar over the surface of the cooled okara, and mix with a wooden spoon for approximately 2 minutes. Make sure that you mix all of the okara and that bits along the sides and bottom are not missed. Now sprinkle the tempeh starter over the acidulated okara. Mix thoroughly for another 3-5 minutes, making sure again to not miss any of the okara. This step is essential as if you do not mix the inoculated okara well you’ll likely get spore-free patches which will develop into holes in the tempeh cake with no fungus and only loose okara.
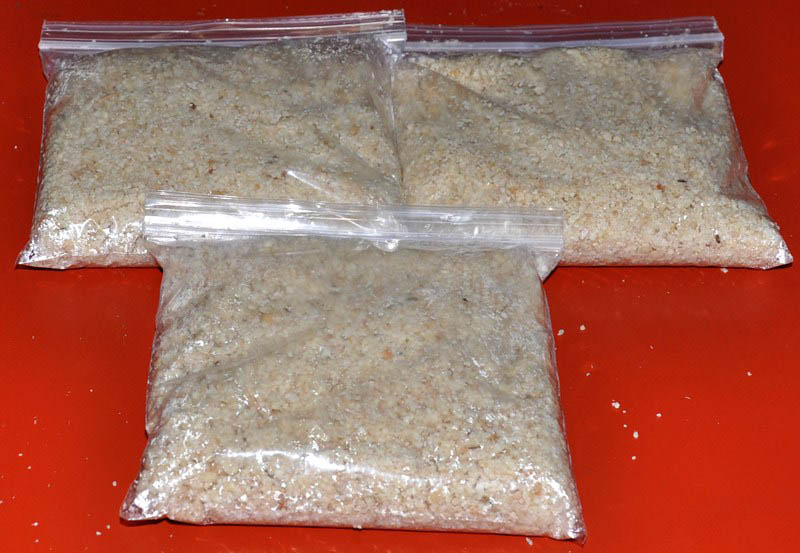
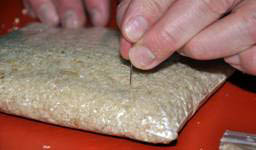
Step 2: Forming the tempeh cakesLocate 4 one-pint sealable polyethylene storage bags. Wash hands thoroughly. Divide the inoculated okara into four units, about 2 cups each. Scoop each into its own storage bag. Press air out of the filled bag, and close its seal. Place the 4 bags onto a flat surface and press into cakes of even thickness. Take a large diameter needle, and punch 12-20 holes across the surface of each bag. Flip them over and repeat on the other side.
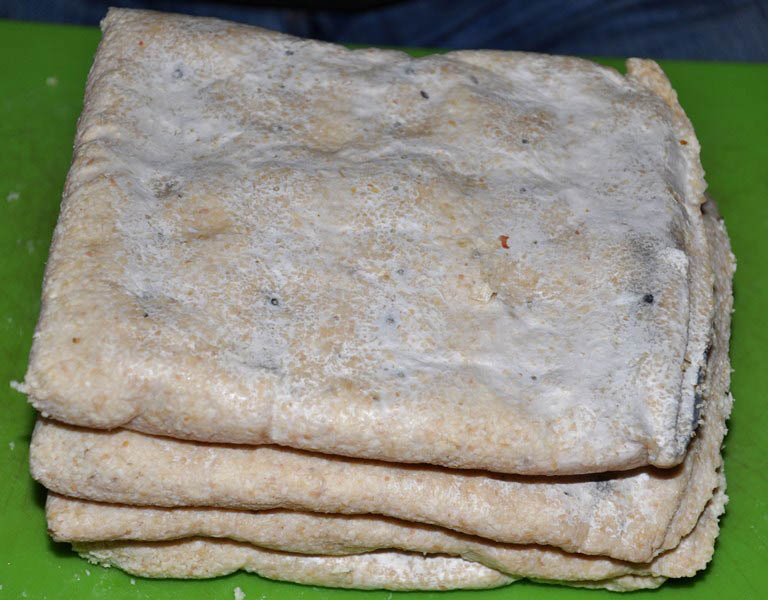
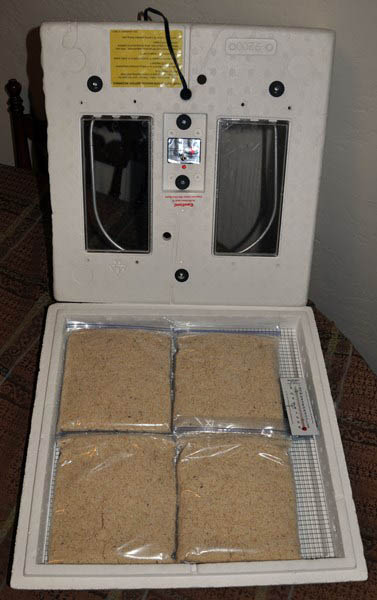
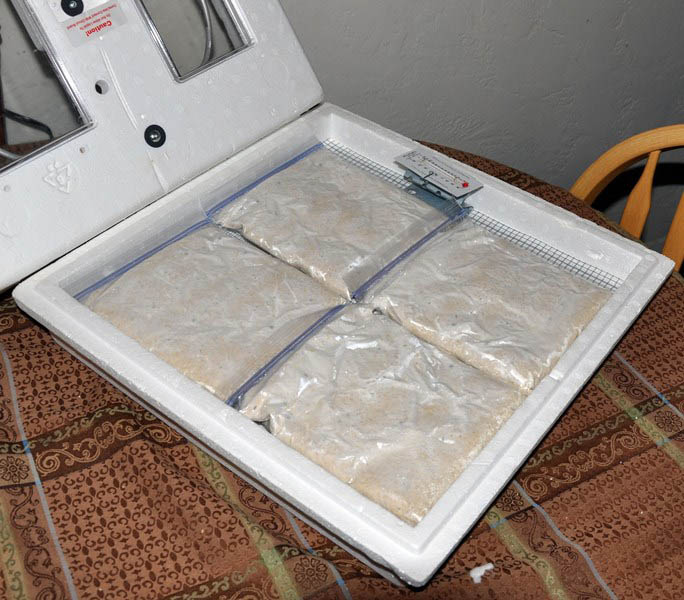
Step 3: Fermenting the tempehPlace the 4 aerated storage bags with acidulated, inoculated okara into a clean egg incubator set at 85° F. Now all you have to do is wait and let Rhizopus do the work. There will be little evidence of Rhizopus growth over the first 18 hours. But after that you should see a white mat of fungal hyphae quickly encompass the entirety of each cake. If you like your tempeh mild, remove from the incubator when the hyphae are still white with only small dark spots under each of the needle holes. If you like a stronger tasting product, you can leave it in longer until the cake is gray in color. You may not want to do this, though, as many feel that such ‘over-ripe’ tempeh is an acquired taste. Experiment and see how mature you like your tempeh.
Step 4: Storing the tempeh.The Rhizopus will continue to mature even when removed from the incubator. Thus, you’ll want to quickly move it to a refrigerated environment unless you plan on cooking it immediately. Be sure that you do not stack the 4 cakes on top of each other, as the fungal activity in the middle of the stack will keep the temperature high and the Rhizopus maturing at a rapid rate. Even if kept separate in the refrigerator, the cakes will continue to mature – although much more slowly. For optimum flavor you’ll want to use them within 2-3 days. You can also freeze the cakes, where they will remain at optimum quality for at least a month. In this case, you’ll want to remove them and let them thaw for 2-3 hours at room temperature before cooking. Whole Bean TempehIf you'd rather make your tempeh from unprocessed whole soybeans, please refer to the basic tempeh recipe from The Book of Tempeh. In a nutshell, before Step 1 you'll need to measure out 4 cups of dry beans. If you have a grain mill, you'll want to run these soybeans through it on the coarsest setting -- all you want to do is break the beans in half. Then, soak the beans in ample water for 10-12 hours, skimming off the hulls that float to the top. Drain the cracked, soaked beans and place in a pot. Or, you may simply soak the whole beans for the same amount of time, and then rub the beans between your hands until the hulls are separated and they break in two. Repeat this process until all of the beans have been hulled and split. Drain and place in a pot. Cover beans generously with water and bring to a boil. Cook for at least 40 minutes until the bean pieces are still somewhat firm but soft enough to be crushed between your thumb and forefinger. Drain the beans, and dry by placing between two towels and rubbing thoroughly. You must remove as much water as possible. If the beans are too damp, they will not be able to maintain proper oxygen levels, and the Rhizopus fungus will not grow well. Rather other anaerobic microbes will dominate, and make for a very stinky and inedible product. Once the beans are dry, proceed to Step 1. You'll want to use the same soybean varieties that are used in tofu or miso prodcution, such as Shinonome. Also note that as long as you use dry, cooked substrate, any number of other materials can be turned into tempeh, including beans, peas, lentils and all grains. Specialized Materials.
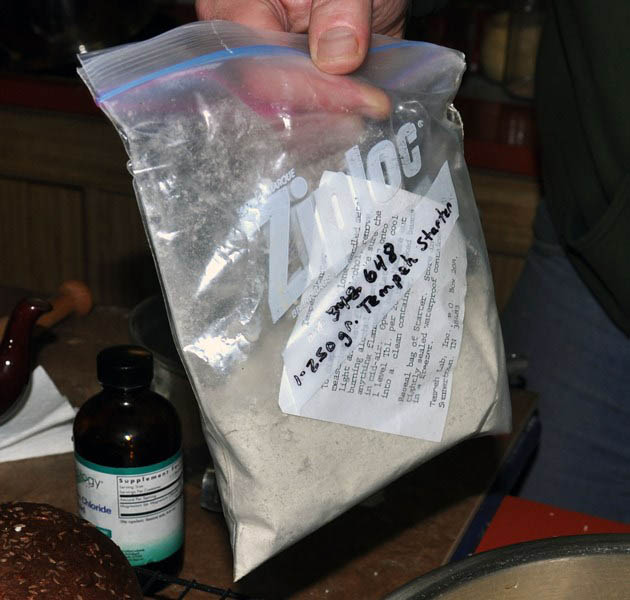
You will need to obtain tempeh starter. There are a number of companies that sell this product. One is GEM Cultures from Lakewood, Washington. Unfortunately, as of the time of writing (second week of March, 2014) their tempeh starter is out of stock. We bought our starter from The Tempeh Lab in Summertown, Tennessee, and were very happy with the quality and price. We've kept our starter in the freezer, and have been using it now for over a decade with no noticeable reduction in viability. As a result, we have not purchased any tempeh starter from them in a long time, and do not know the current pricing schedules. We wrote them a few weeks ago asking for updated information, and have yet to hear back. When we do we’ll pass the information along. Second, you’ll need to buy an egg incubator that will be dedicated for use only in food fermentation projects. UNLESS YOU LIKE GETTING SICK, DO NOT USE AN INCUBATOR THAT HAS ALREADY BEEN USED TO HATCH POULTRY! We purchased the Little Giant 9200 still air incubator made by Miller Manufacturing in Eagen, Minnesota. It maintins the set temperature very well, and with its styrofoam construction it also holds humidity – an essential issue for this type of fermentation. The price seems to run between $40-50, depending upon the vendor. You should be able to pick one up at your local farm supply store. Last, you’ll need a food thermometer to let you know when the okara, beans, grains, etc have cooled to a safe temperature for the Rhizopus spores. |