Sourdough Khoubz
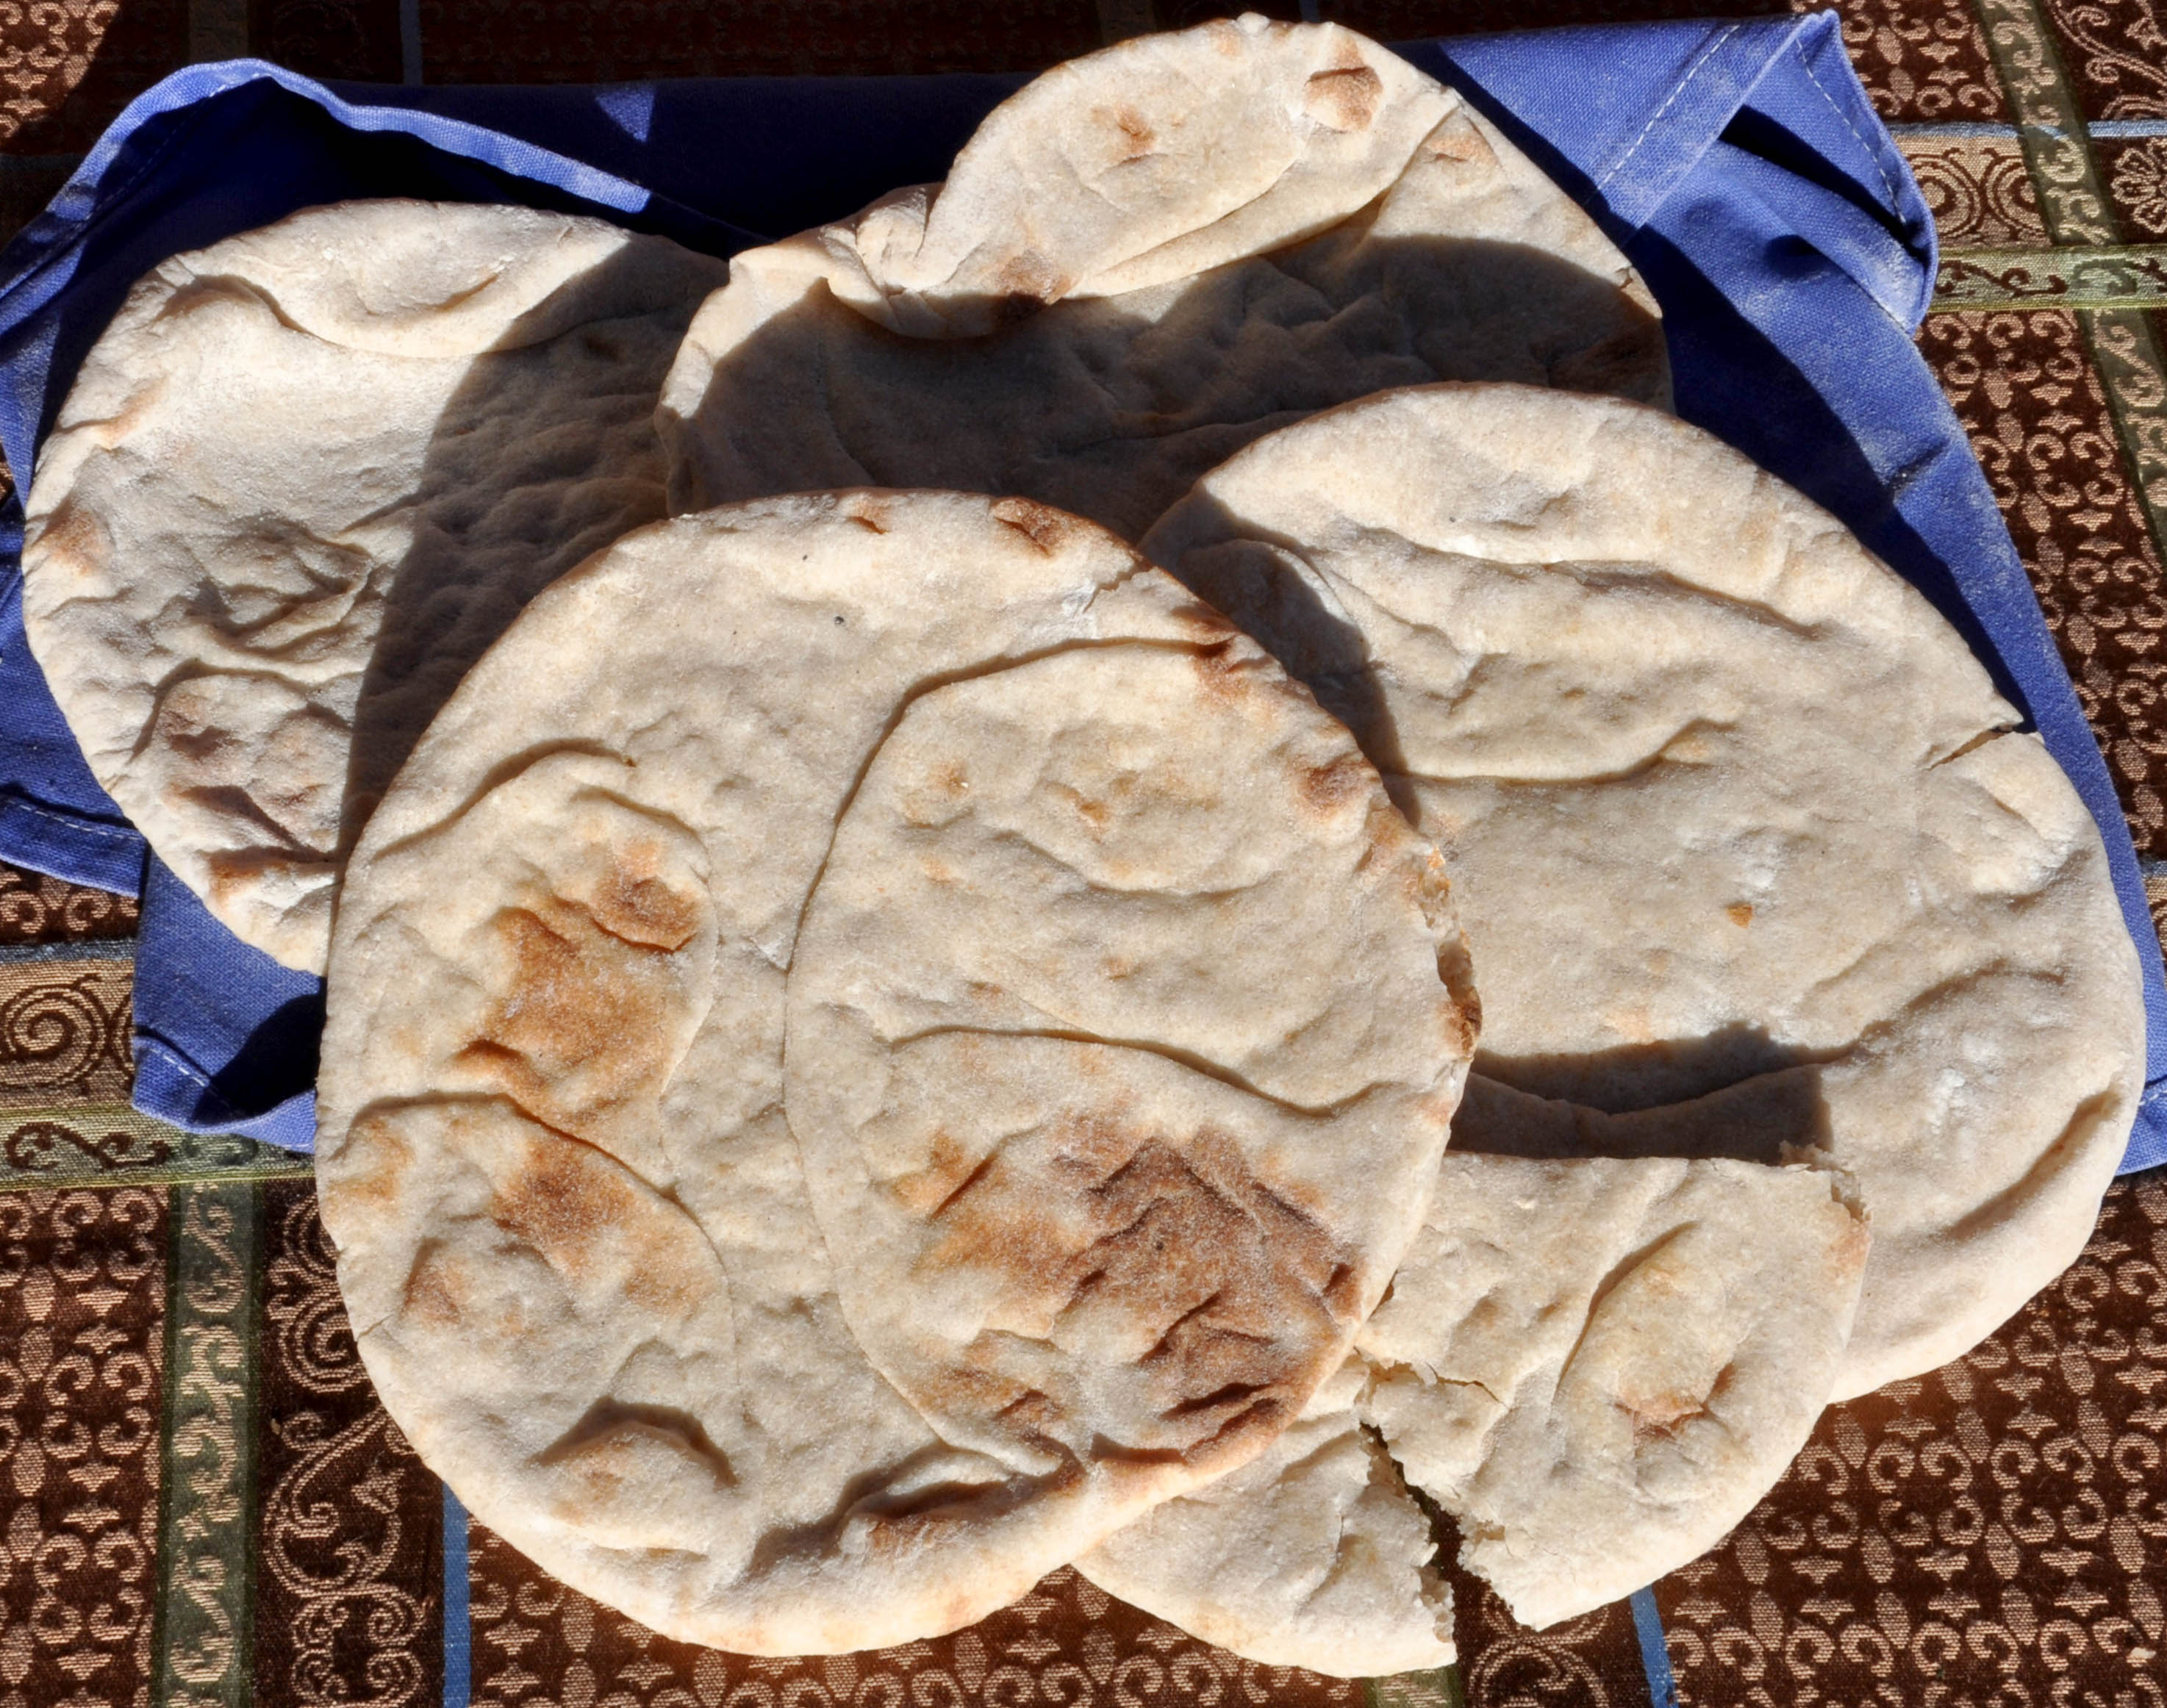
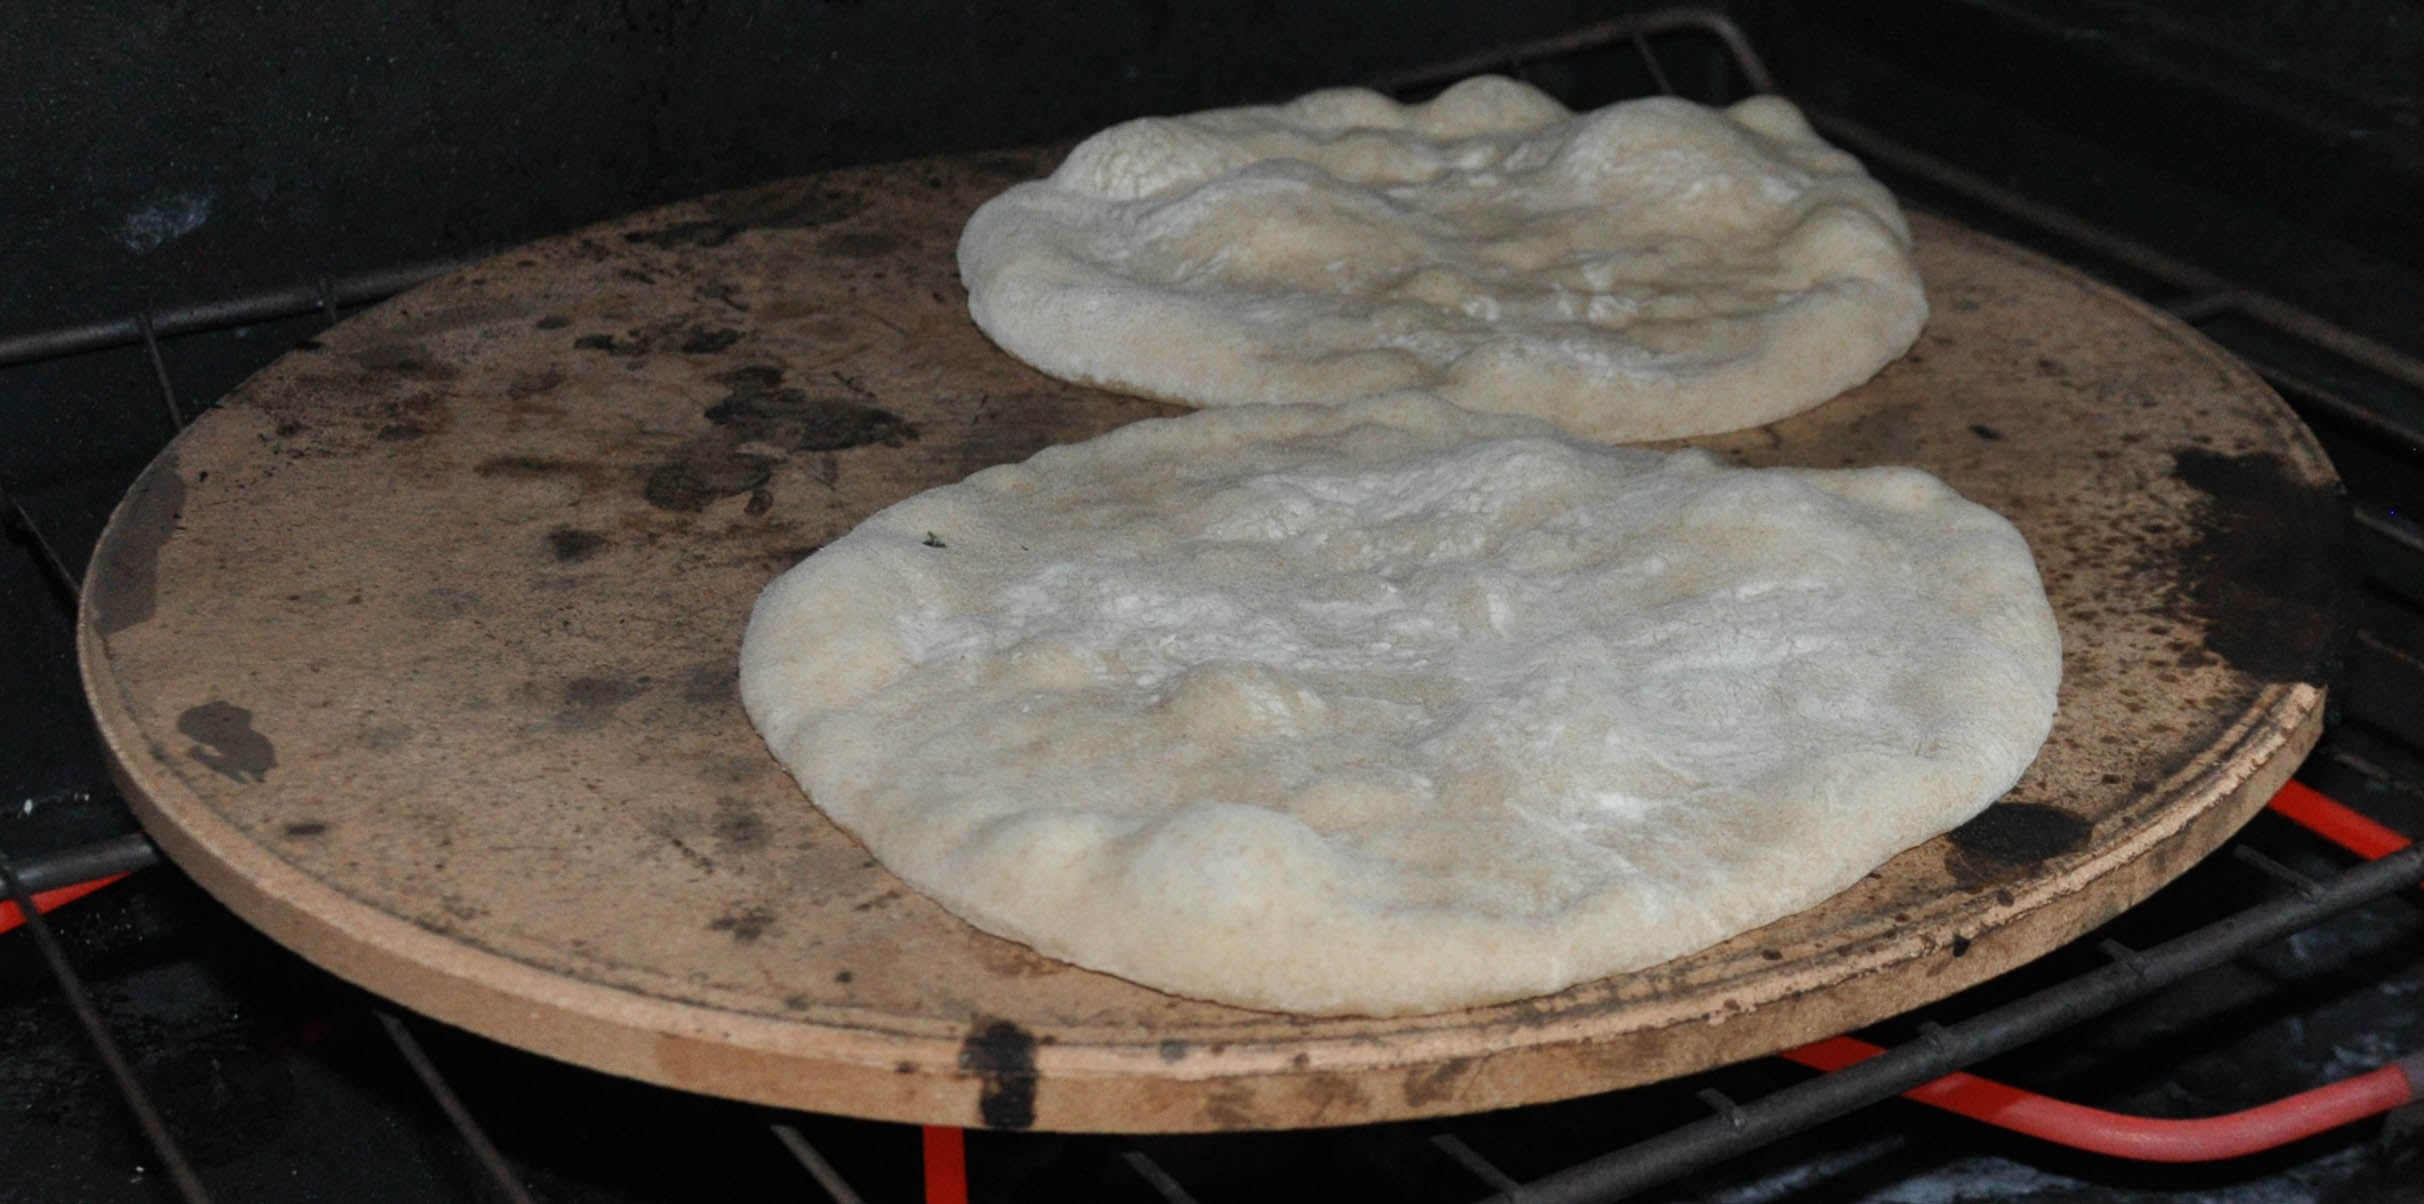
Bread truly is the staff of life in Middle Eastern cultures. The most common types made in the region are various flat breads, including not only unleavened Armenian Lavash and its cousins from Persia, Kashmir, and Turkey, but also a number of yeast-leavened types such as Persian Barbari and Turkish Bazlama. These breads are all used to wipe up dressings and sauces which accumulate on plates, and are dipped into various spreads. The types known as ‘pocket breads’ are also be used to make sandwiches. In the USA we know of these as ‘pita’. The problem is that the name ‘pita’ is actually of Greek origin, likely deriving from the Ancient Greek pēktos (πηκτός). In Turkey this bread is called by the closely related name “pide”. However, in Arabic countries – especially in Lebanon, Syria, Jordan, and Iraq – it is typically referred to as ‘khoubz’ (خبز ). The tenth-century Arab cookbook Kitab al-Tabikh by ibn Sayyar al-Warraq includes six recipes for khoubz. For our iftar banquet, we’ll not only dip freshly baked khoubz into various spreads, but will also cut loaves in half, split them along their interior pocket, and then fill them with various salads or falafel. It may be a surprise to learn that khoubz are not at all hard to make a home. The secret is in fully activating the gluten in wheat flour to make a very elastic dough which does not release steam during baking. As a result when these loaves are baked they turn into a bread balloon filled with hot steam. Upon cooling they collapse, leaving a large easily filled pocket. What you’ll discover when you make your own khoubz/pita is how much better freshly baked loaves taste as compared to those bought in a store which are at least a week old. You may never buy pita again. One last point before we move onto the recipe. For most of human history these breads were leavened using wild-captured sourdough cultures. We adore the more complex taste of sourdough khoubz, and always make ours this way. But we realize that most of you won’t have a sourdough culture at hand in the back of the refrigerator. As a result we’re going to give you two slightly different sets of recipes – our favorite using a sourdough culture and another that uses commercial yeast. Even though khoubz made with commercial yeast won’t be quite as tasty as those made from sourdough, they will still taste far better than anything you can buy. An interesting feature of sourdough cultures is that they vary from place to place as the background yeasts and bacteria change. For this reason, a sourdough culture from Egypt will not taste the same as one from San Francisco. If you don’t already have an active sourdough culture you should consider purchasing one from Sourdough International in Cascade, Idaho. For a truly authentic khoubz, you’d want to use their Bahrain, Egypt (Giza), Egypt (Red Sea), or Saudi Arabian cultures. A few years ago we captured a local Albuquerque sourdough using the methods described in Nancy Silverton’s Breads from the LaBrea Bakery, and we’ve been delighted at how well it not only leavens – it is essentially as powerful as commercial yeast – but also flavors our bread. We’re pretty sure that this culture works so much better than the one we previously used from the northern California coast because the microorganisms living in it are better adapted to local Albuquerque conditions. The process of capturing a local sourdough takes about 2 weeks from start to finish, and we promise to walk you through the process – probably next summer after we’ve repeated it this fall so that we can photograph the steps along the way.
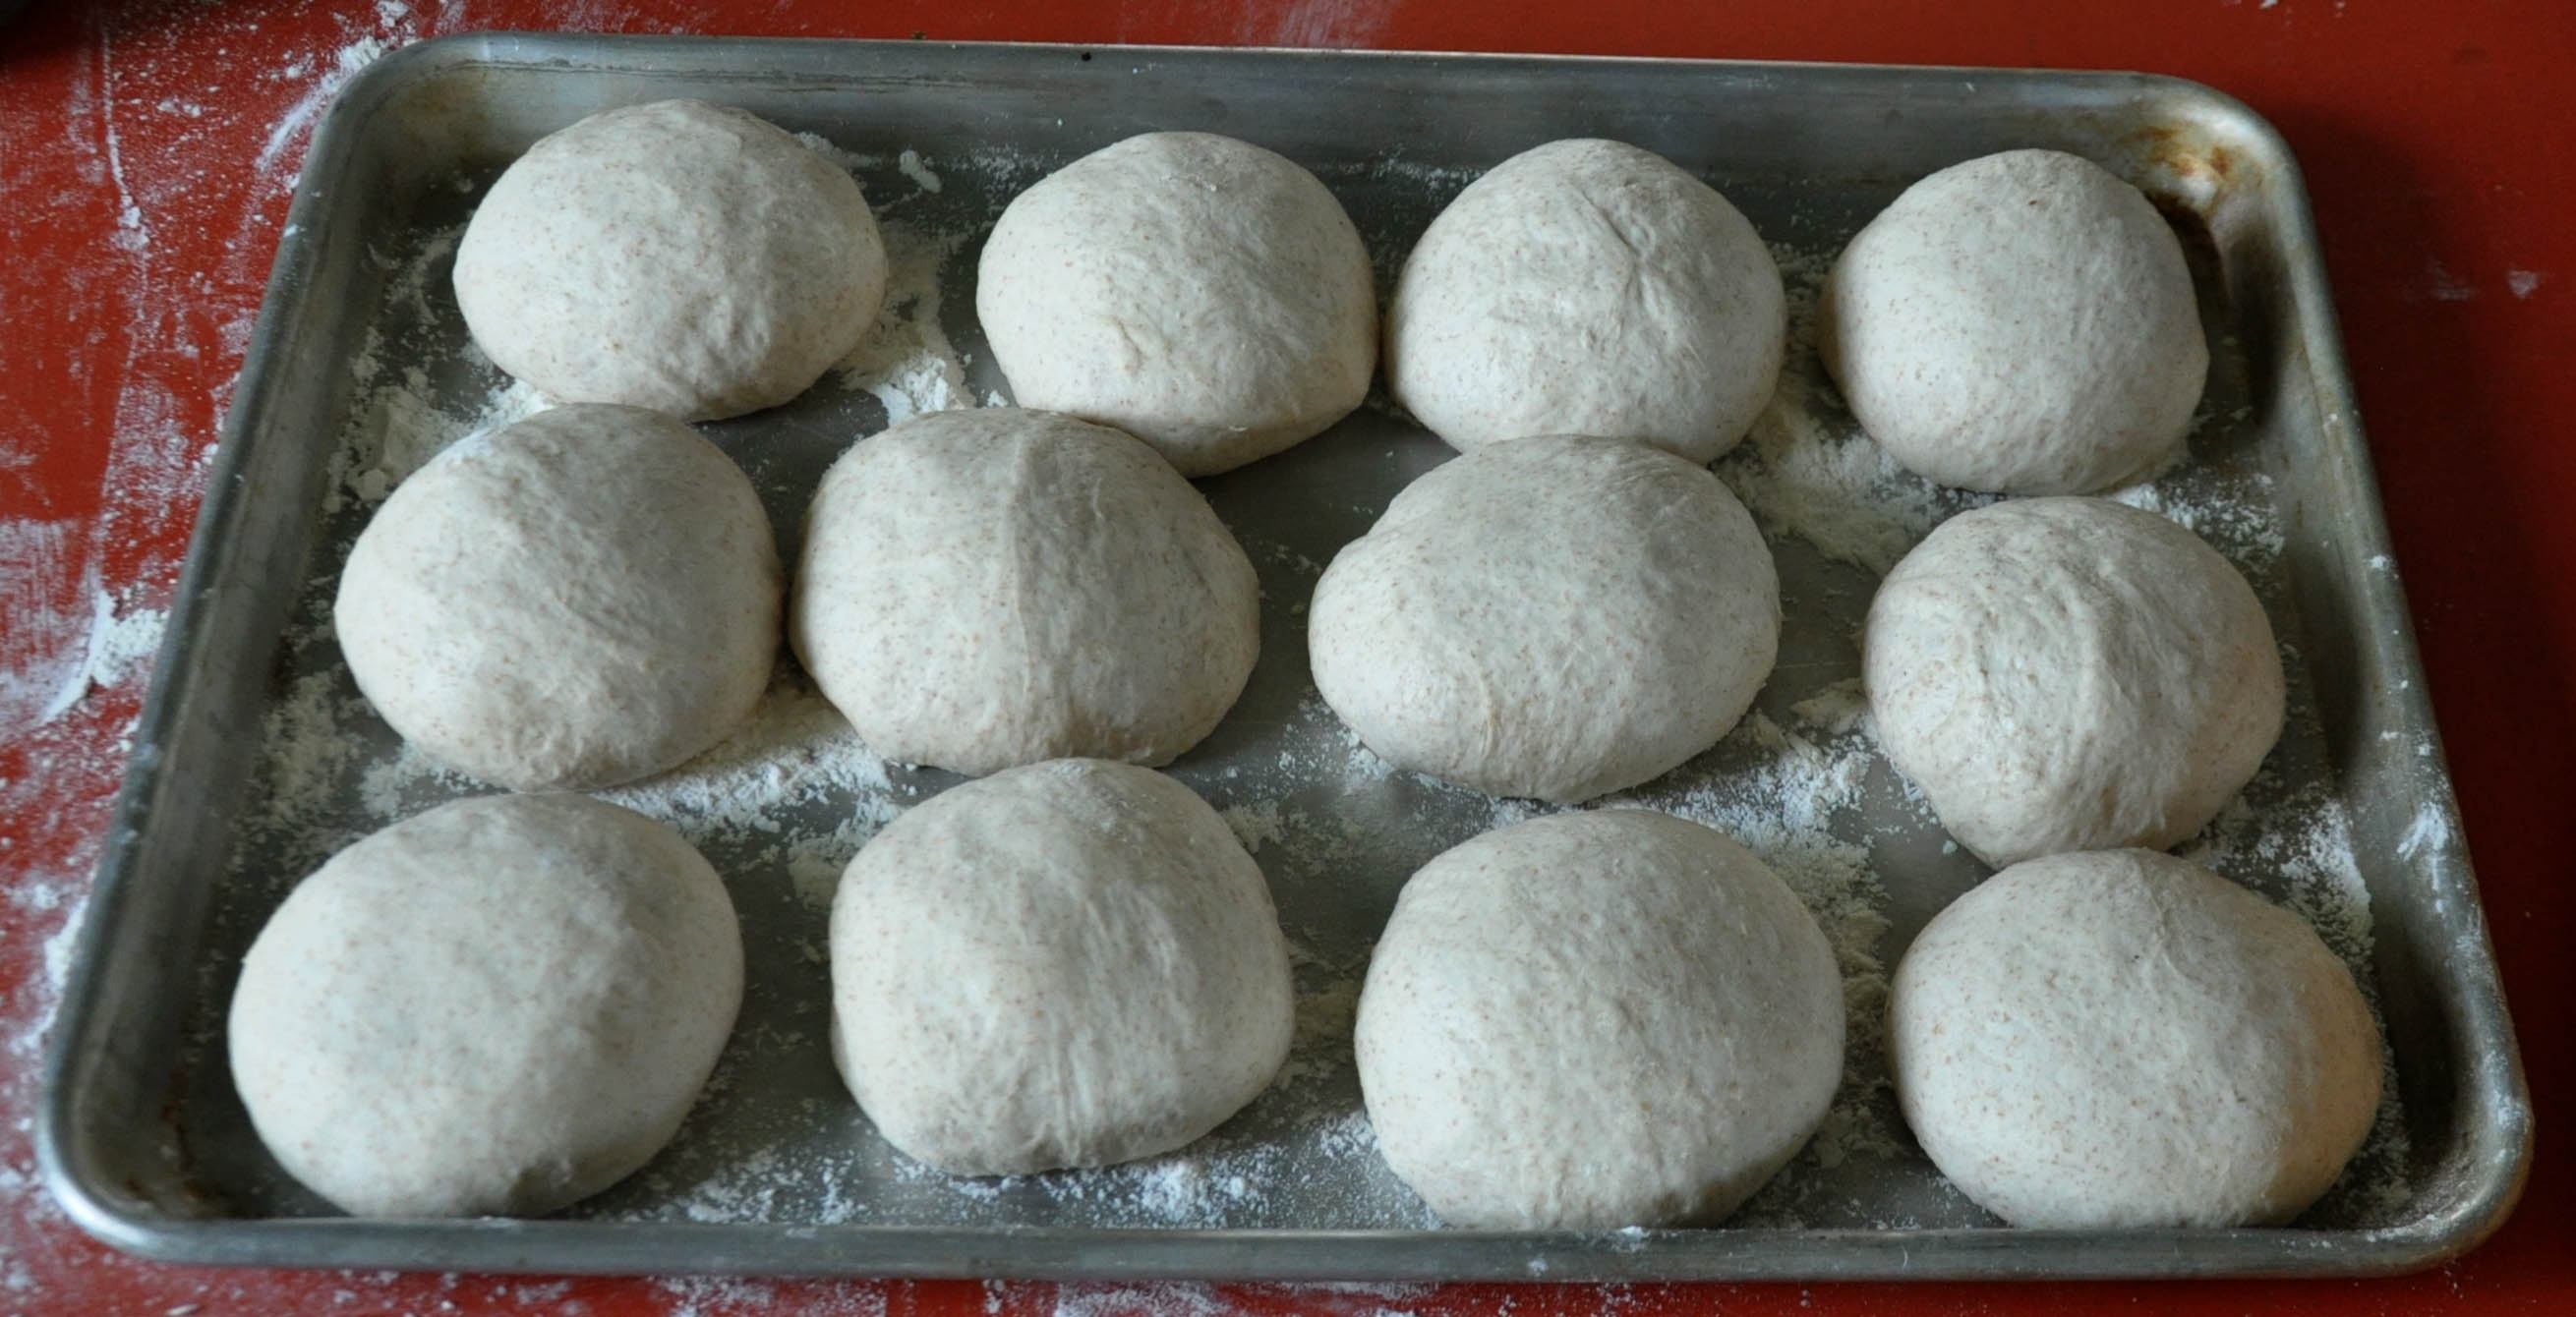
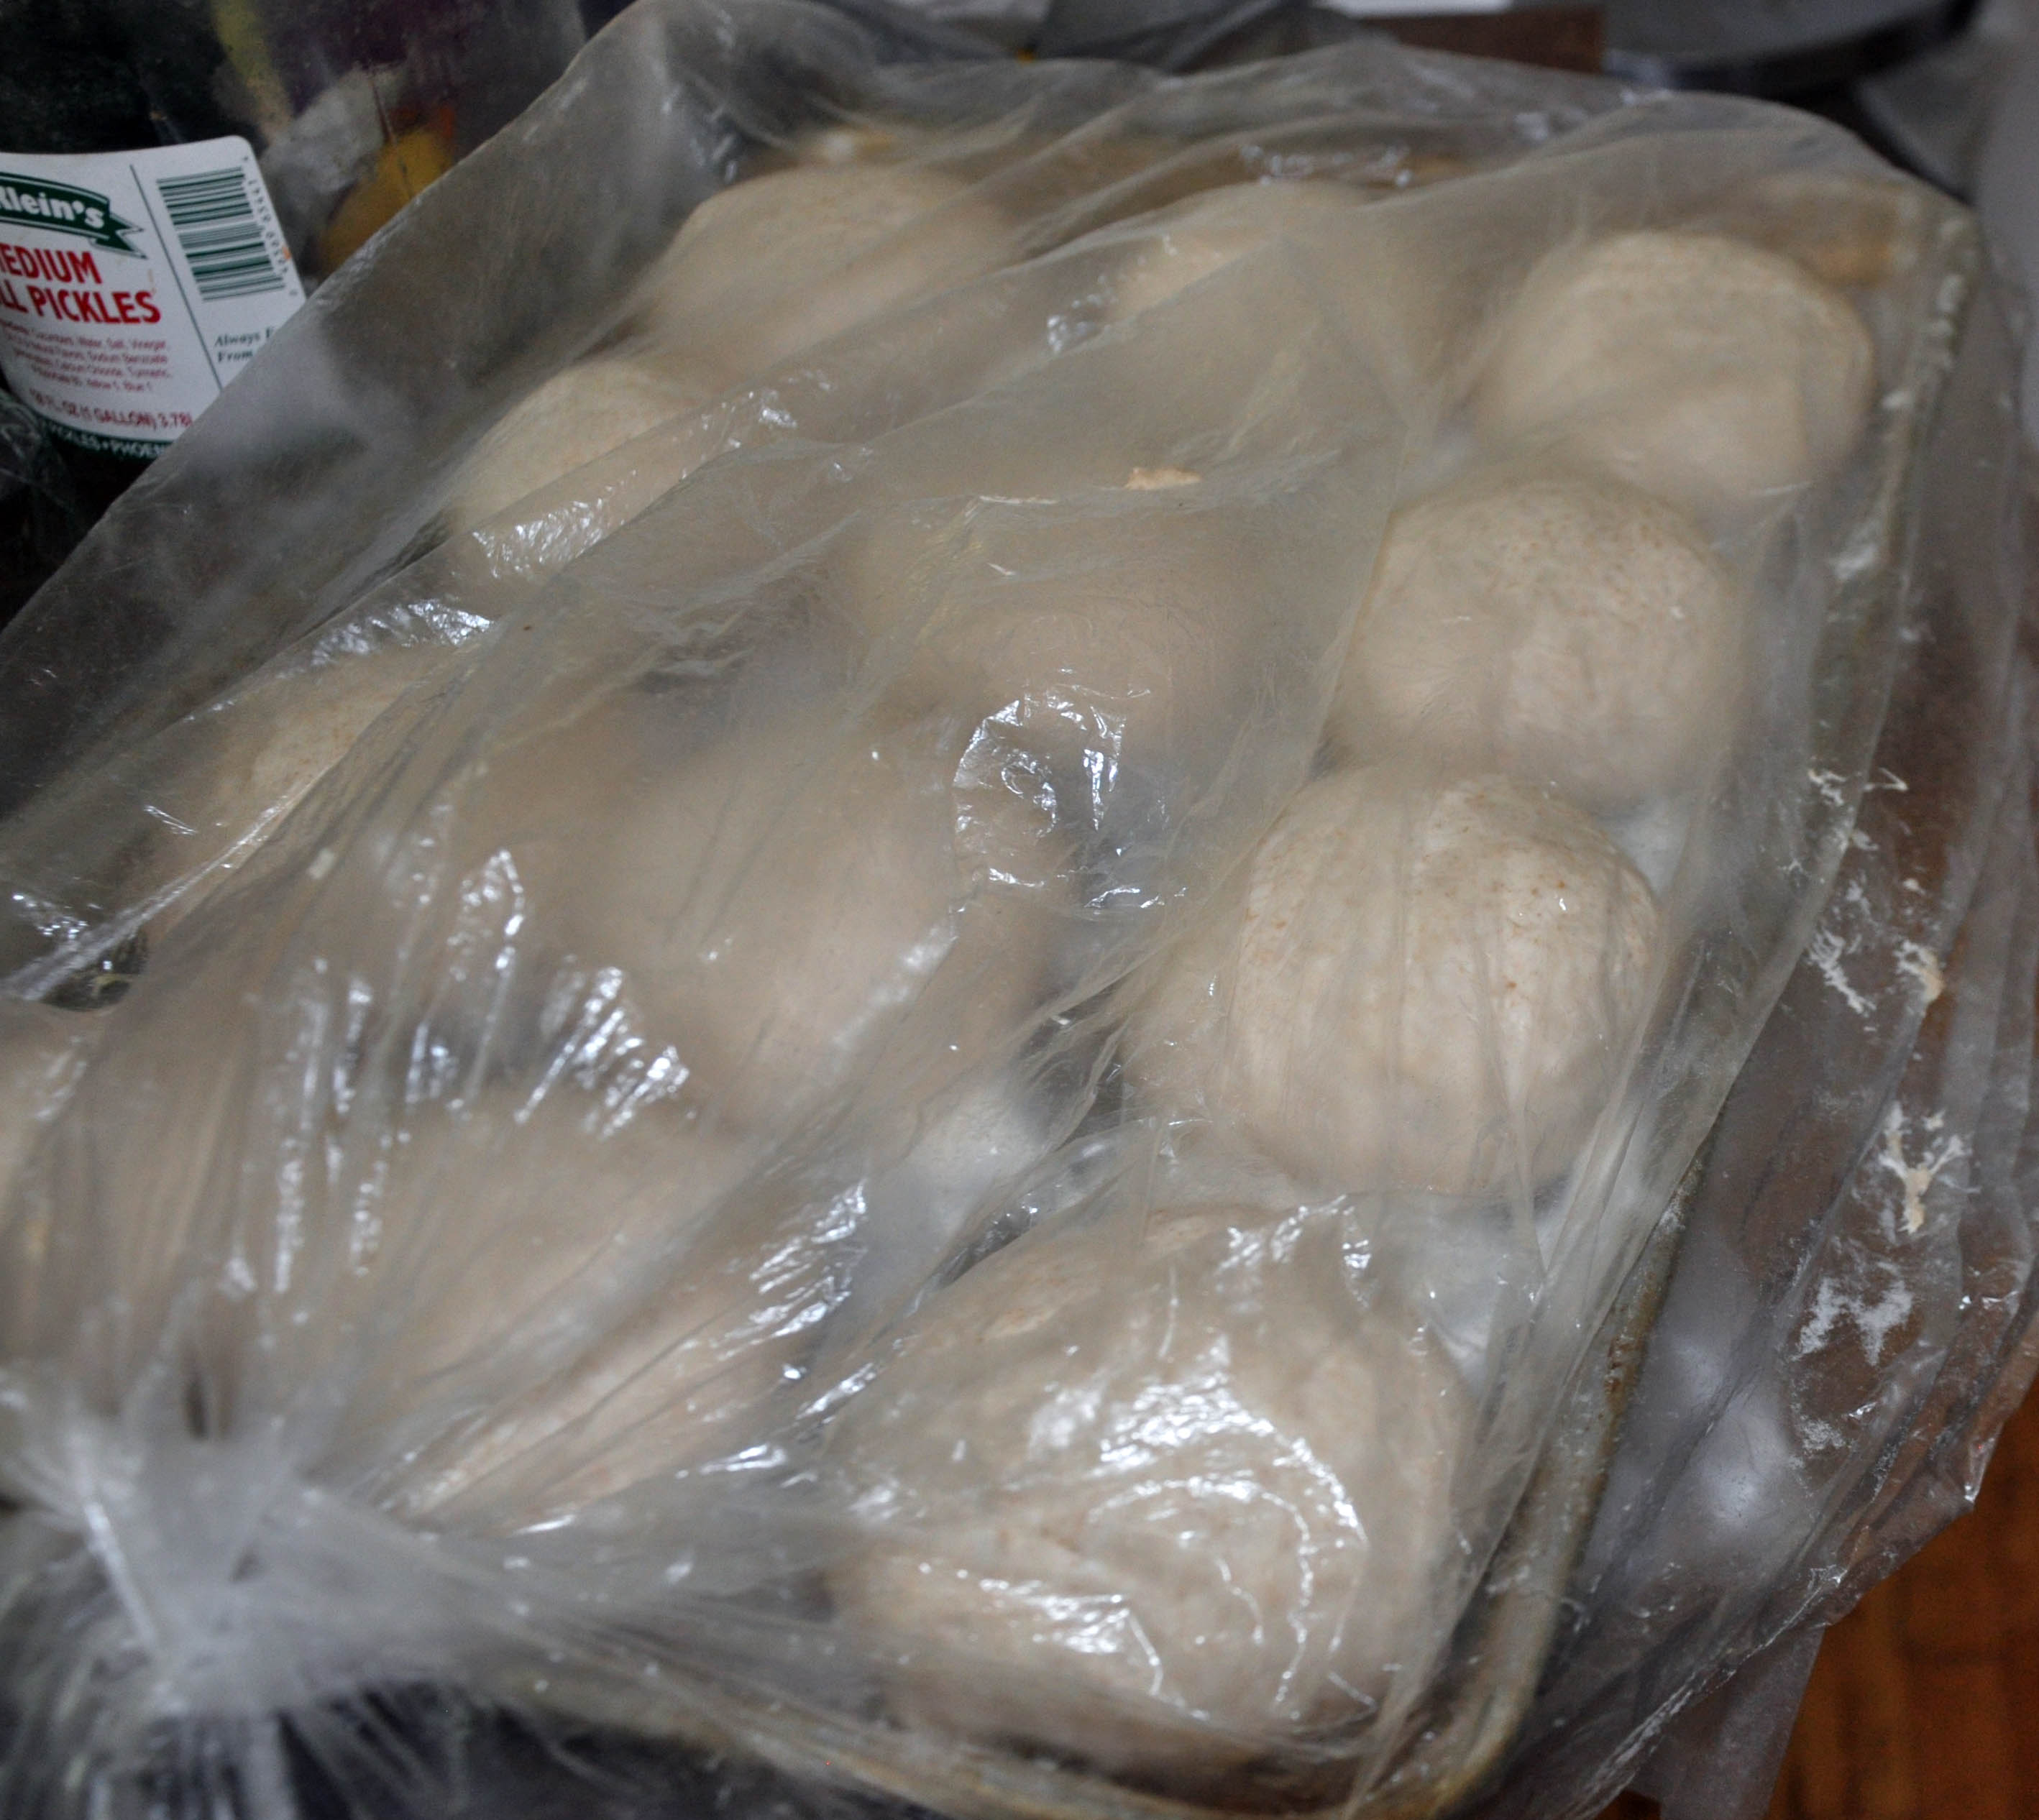
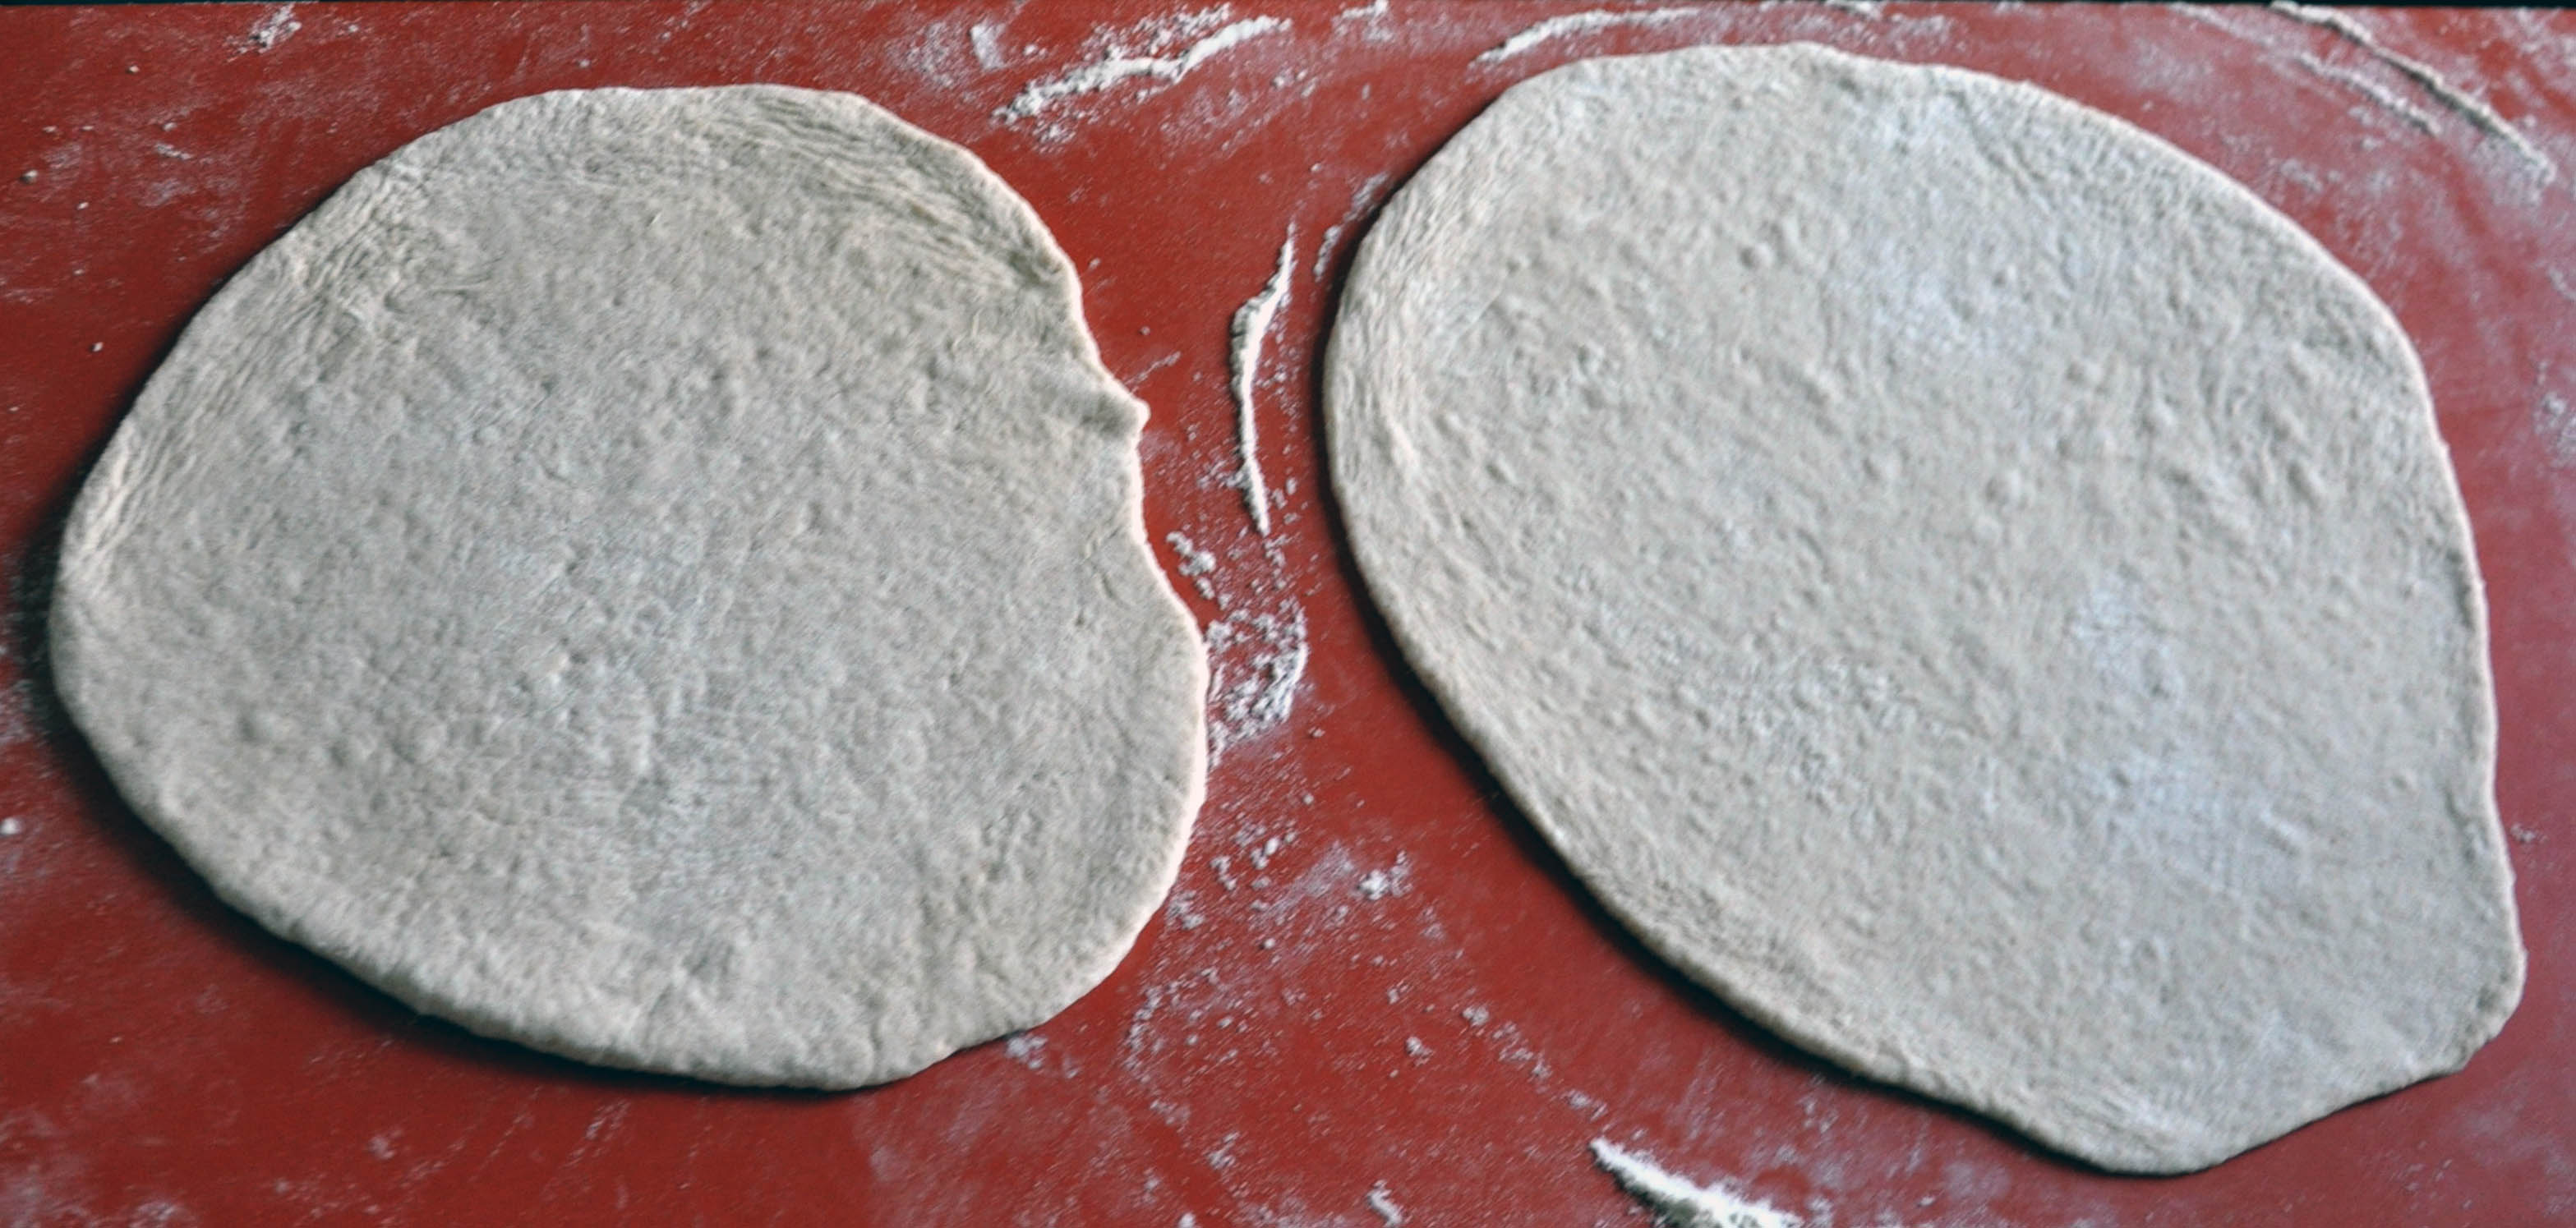
Makes 1 dozen pocket-breads Sourdough Version:3 cups water In a bowl mix well 2 cups of cool water with 2 cups of white flour and the sour dough starter. Seal top with a lid or plastic wrap and let work for approximately 12 hours (or overnight) until the batter is active and spongy in appearance. Reserve ½ cup of starter for the next time, and place back in the refrigerator. Using your electric mixer, pour the remaining starter into the mixing bowl. Add in the remaining 1 cup water and 3 cups flour. Using a mixing blade, beat at medium speed until the batter pulls away from the side of the bowl. This will take about 10 minutes using a standard counter top mixer. Stop the mixer. Remove the blade and replace with a dough hook. Add in the salt and the rest of the white and whole wheat flours and knead at low speed until ingredients are incorporated. Mix an additional 5 minutes at medium speed. You can also do this by hand. What you’ll want to do is beat the initial batter with a wooden spoon for at least 15 minutes until it begins to form sheets. You then add in the rest of the flour and salt, and continue kneading by hand until a very smooth and elastic dough is formed. Be forewarned that your khoubz will probably not form as nice of pockets as it is not easy to fully activate the gluten this way. Commercial Yeast Version: 3 tablespoons dry yeast Mix dry yeast with ½ cup of water. Allow yeast to dissolve and become foamy – about 10 minutes. Add in 3 cups water and 5 cups white flour and proceed as above. Place dough into a lightly oiled bowl and let raise until doubled. Divide into 12 equal sized balls and place on pans that have been dusted with flour, dust the tops with a little flour and then cover and allow to rise until double in size.
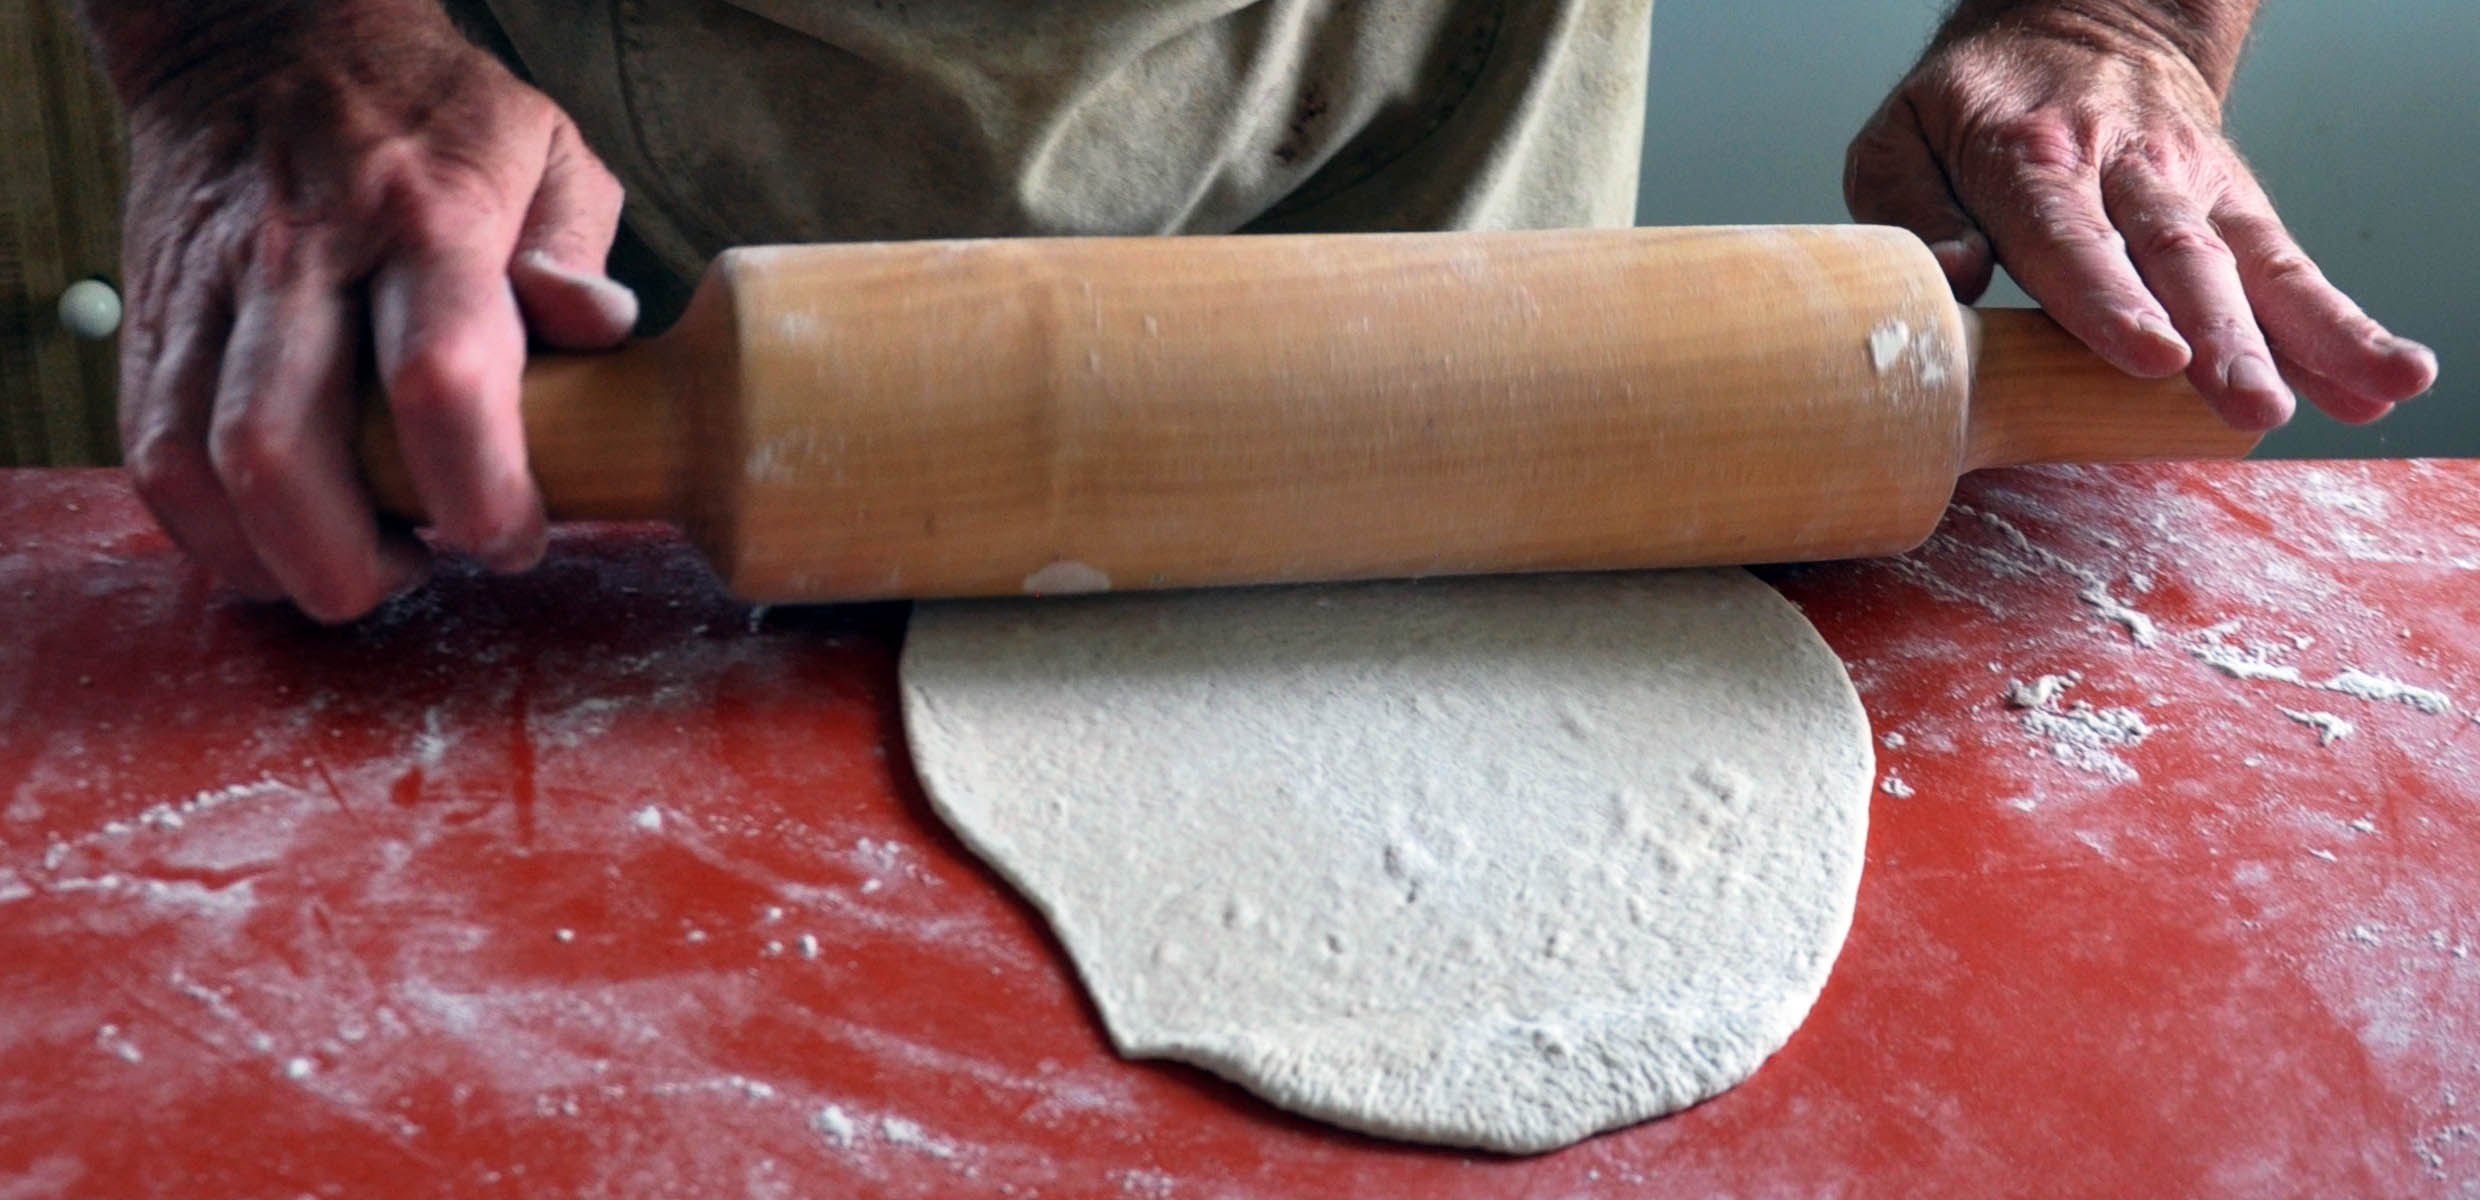
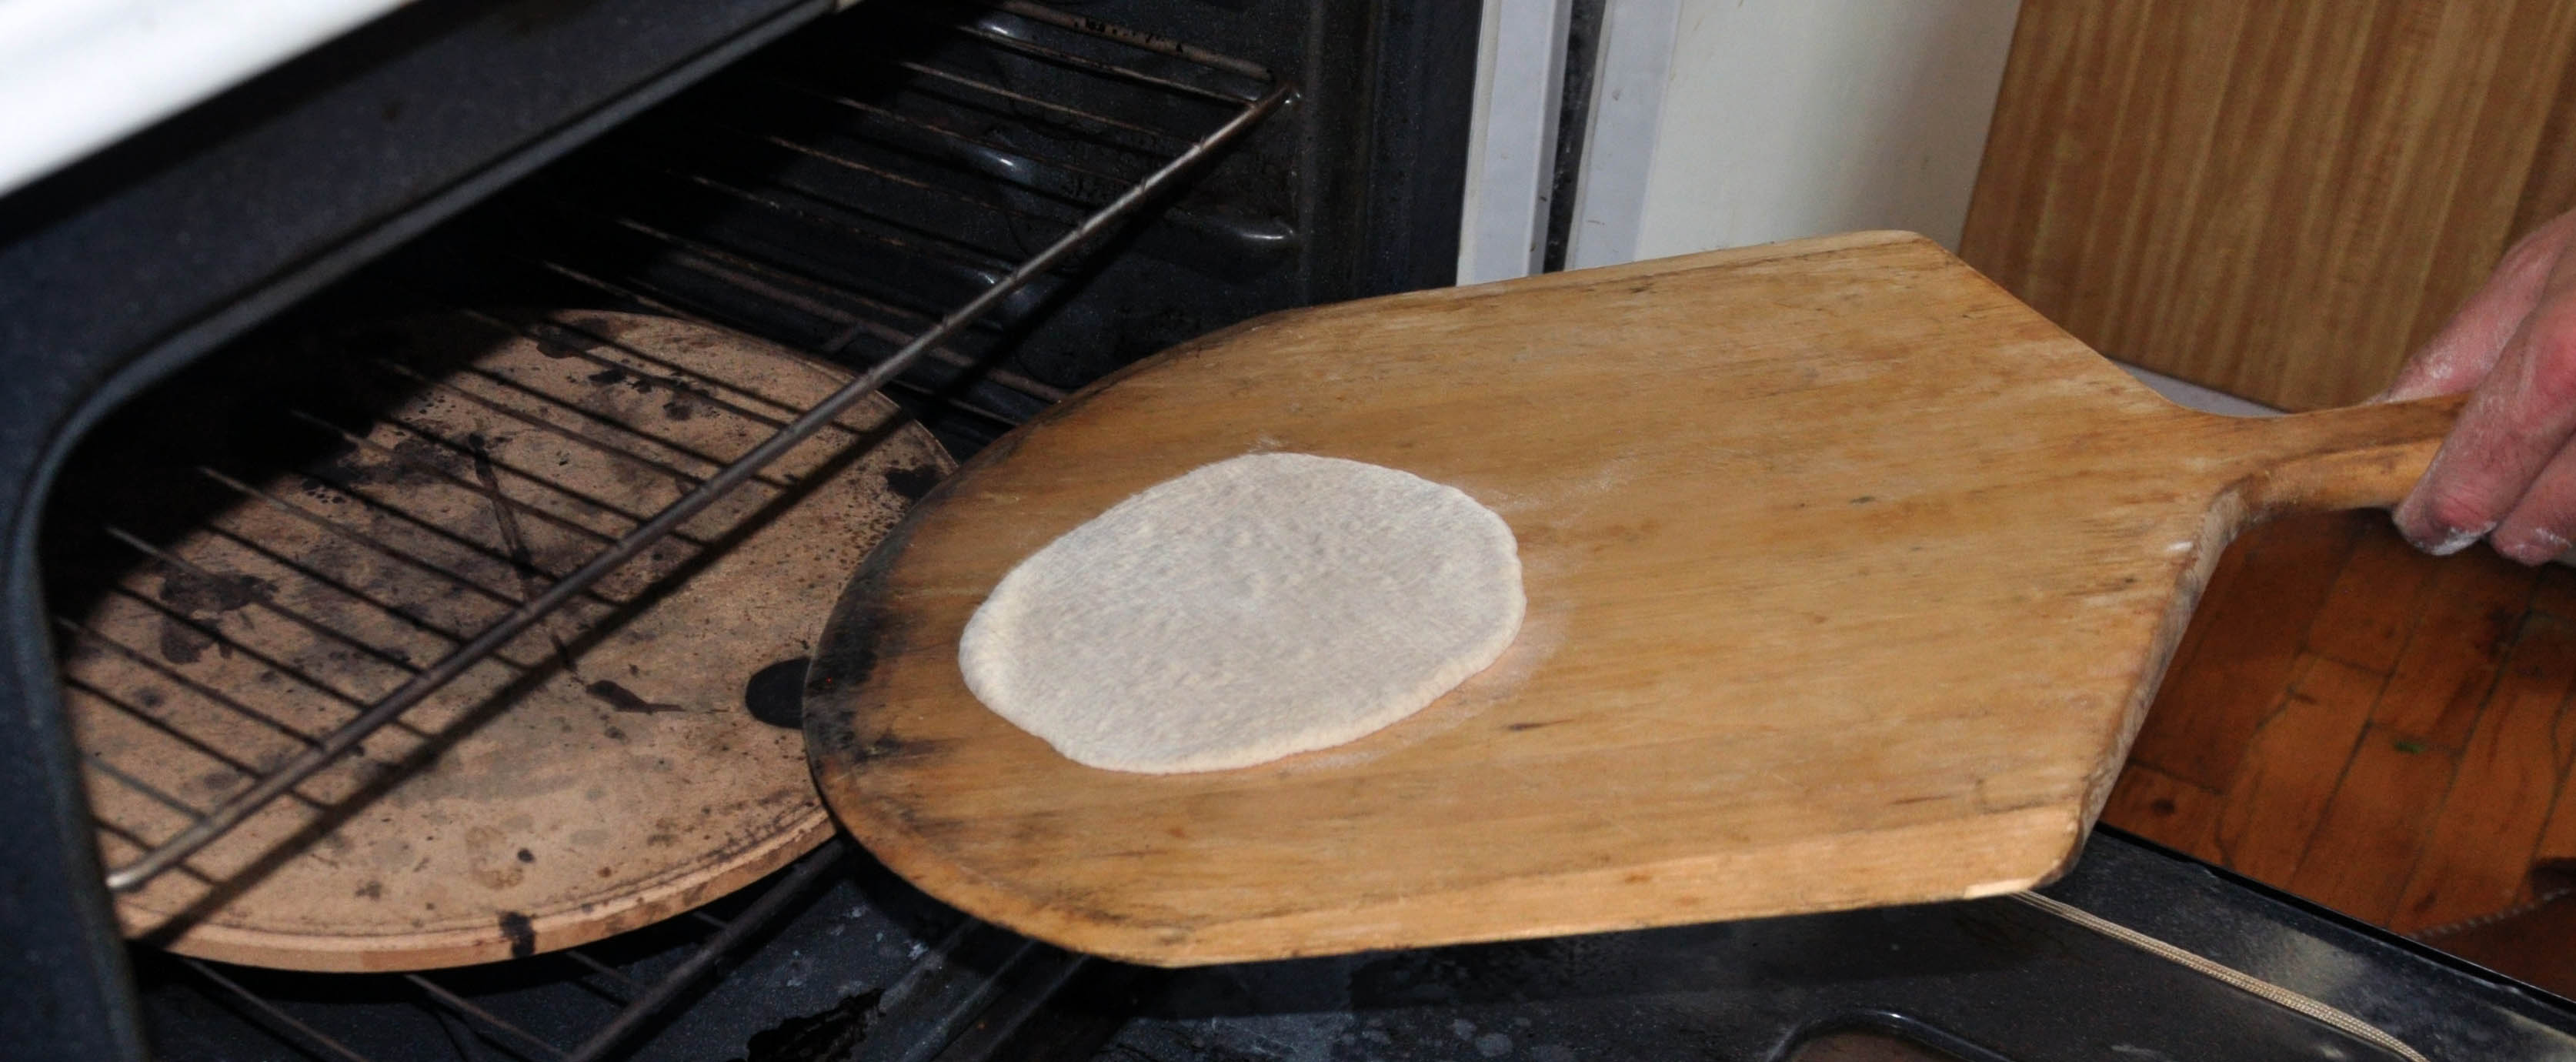
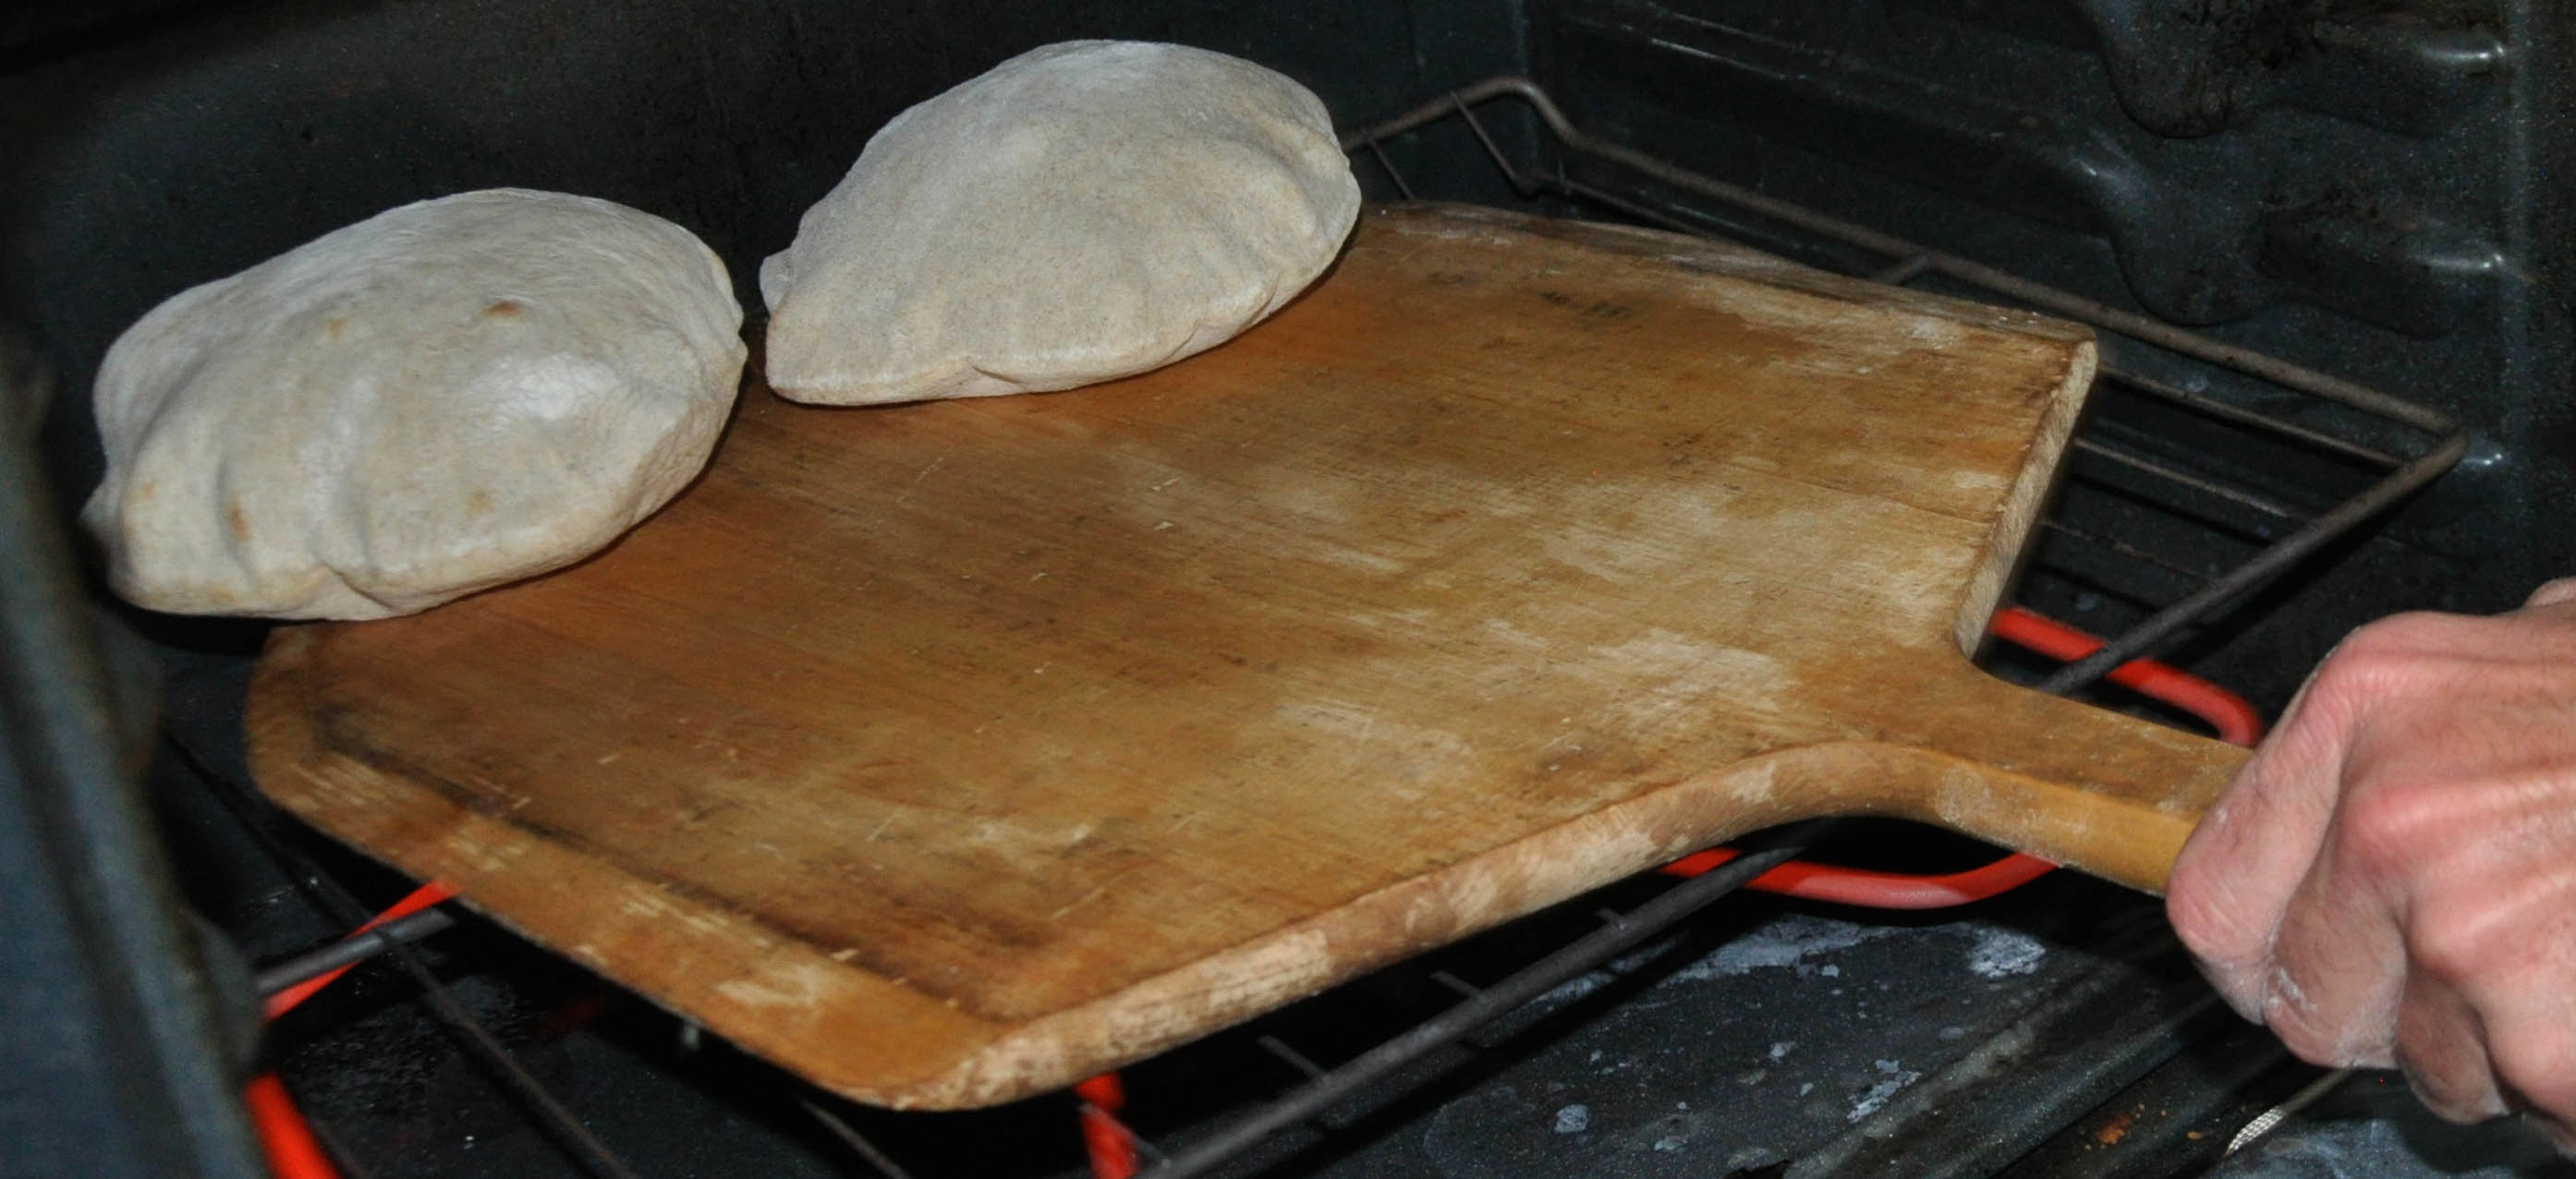
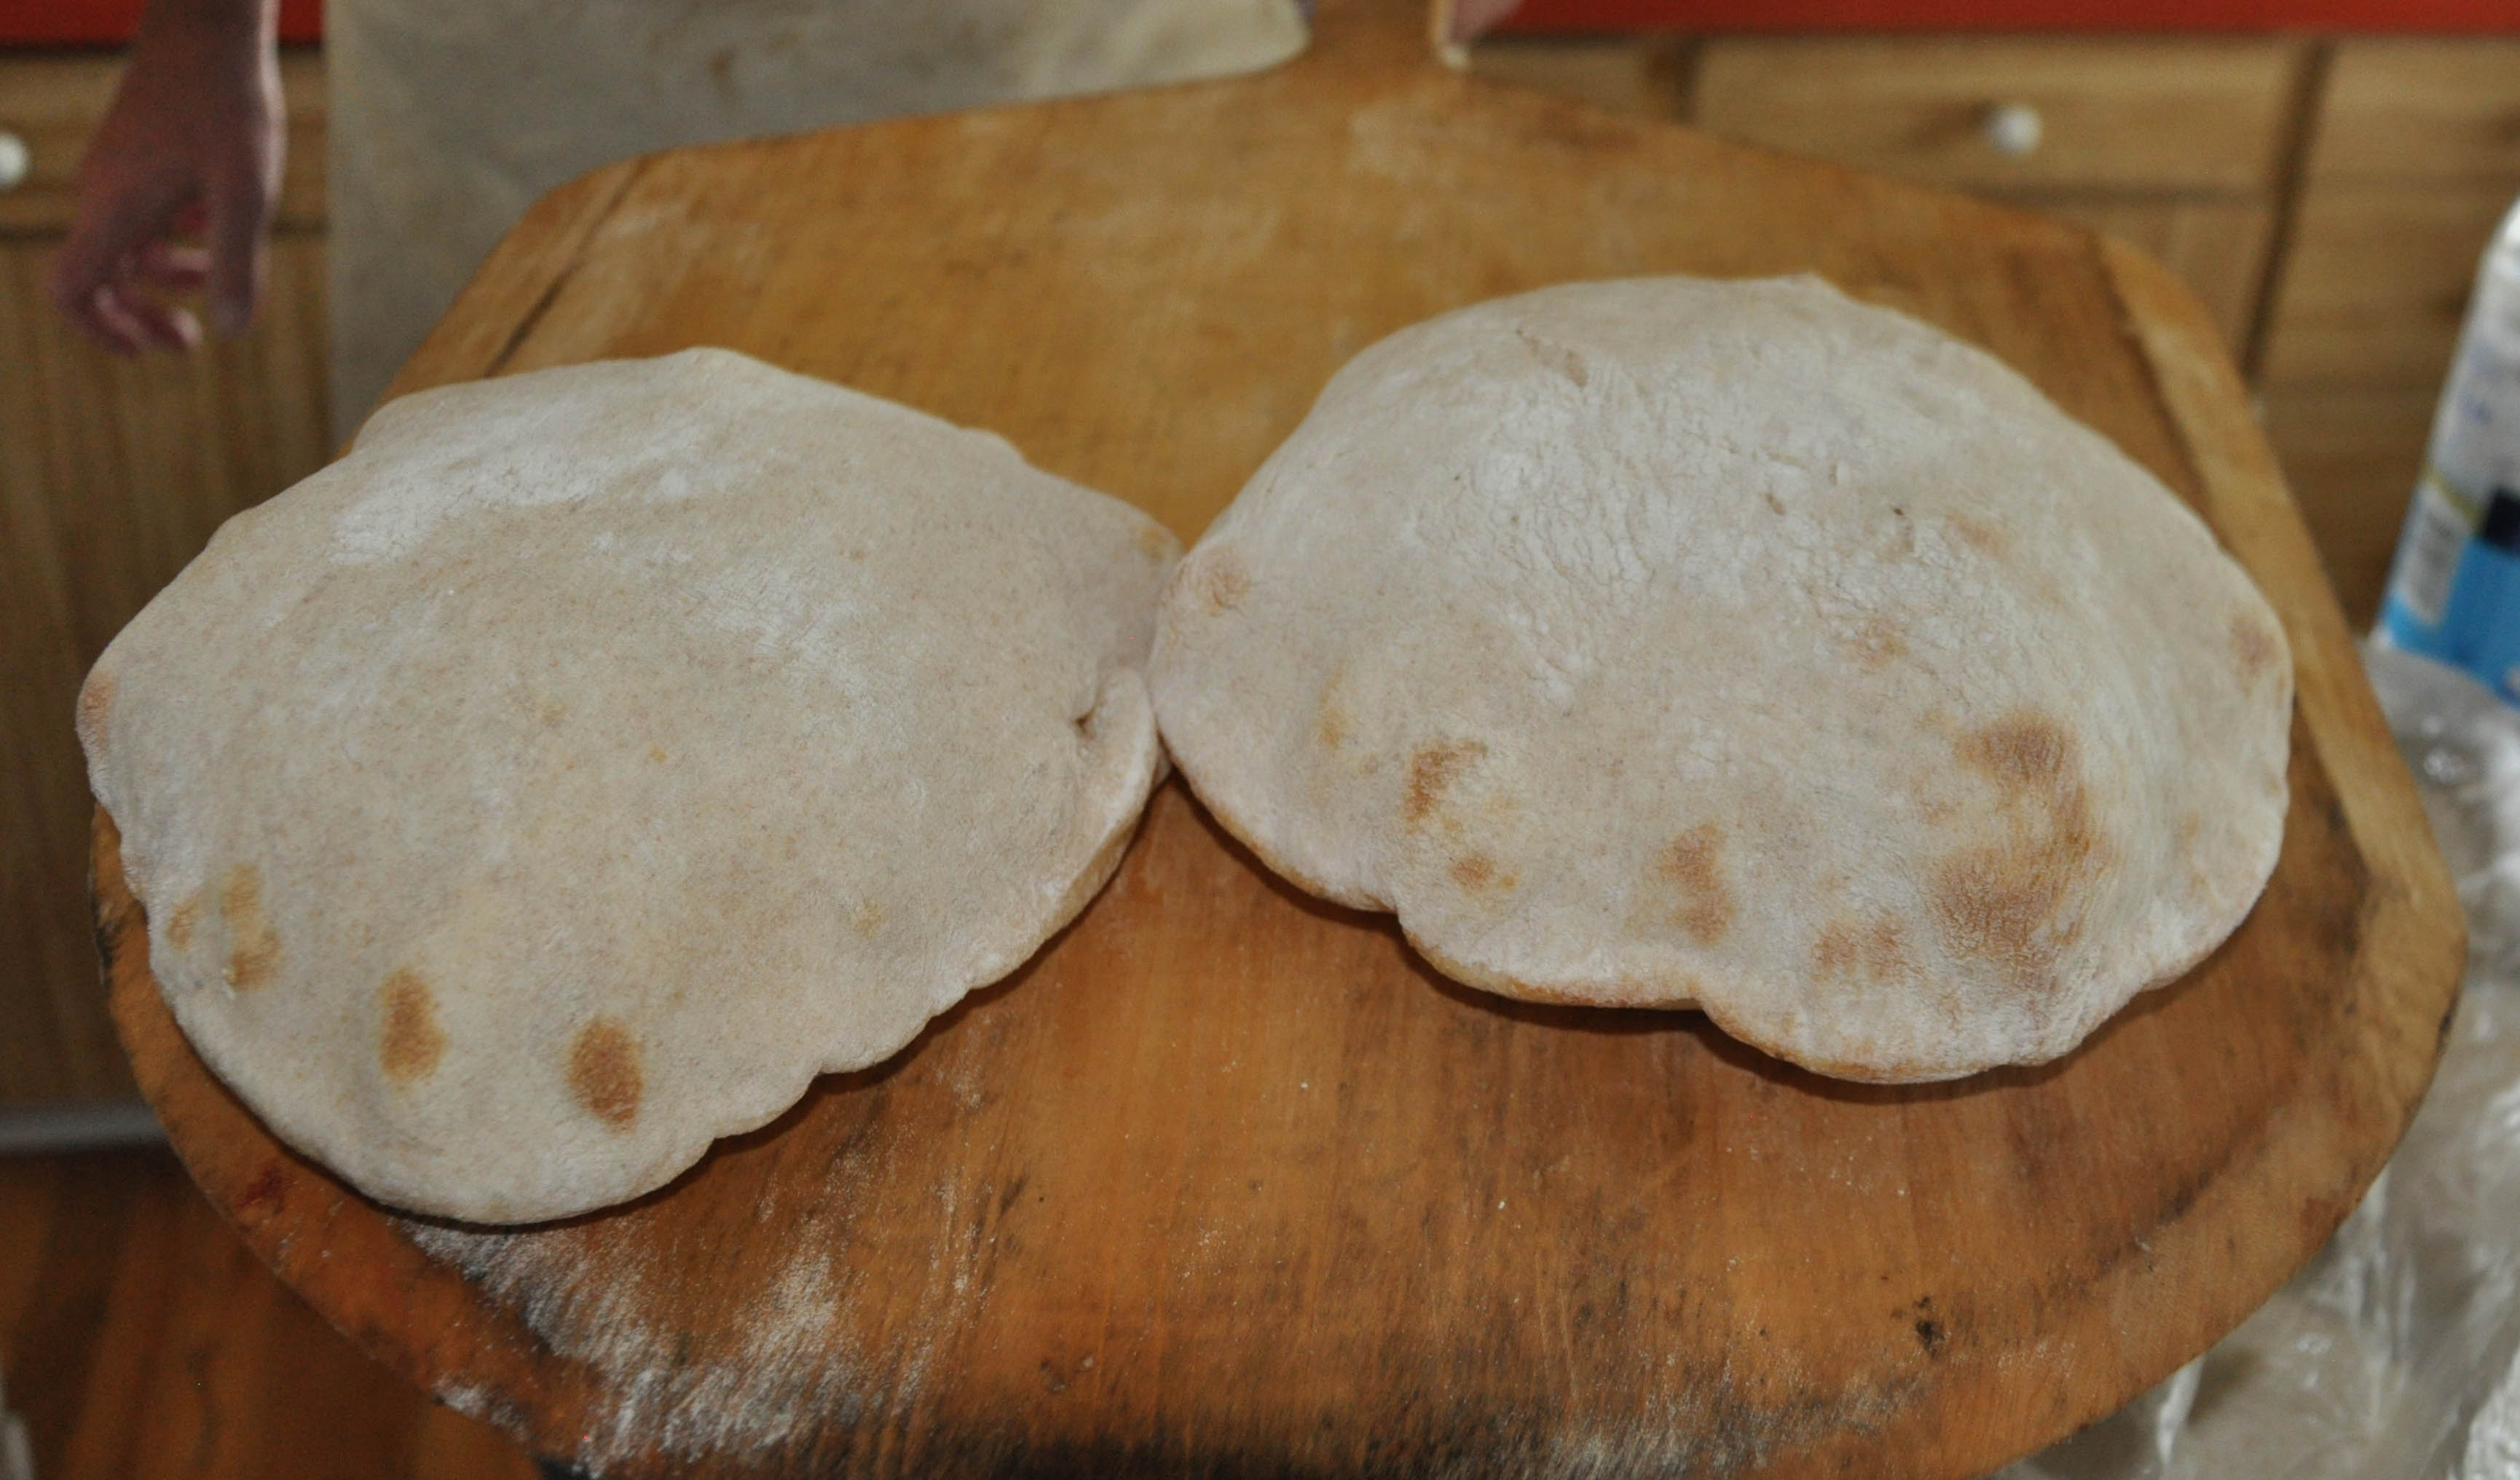
If you have one, place a baking stone on the bottom rack of your oven and preheat to 550° F. If you don't have a baking stone you can use a heavy cookie sheet as a substitute but you will have to watch the breads carefully as they may not bake as evenly. Once the dough balls have doubled, roll each round into an 8 to 10 inch circle and slide onto the hot stone / baking sheet one or two at a time using a pizza peel or another cookie pan. Bake until the loaves puff up like a balloon and have some brown spots on the top; this usually takes less than 5 minutes. Remove from oven and wrap in a flour sack towel or equivalent. Stack the pita inside the towel as they emerge from the oven until all are baked.
These loaves are best enjoyed within a day or two; if we can’t eat them all in this amount of time as soon as they’ve cooled we place them into a sealed plastic bag in the freezer. We reheat them by briefly broiling them in an oven or toaster. |